09 April 2012 - Interior and dashboard
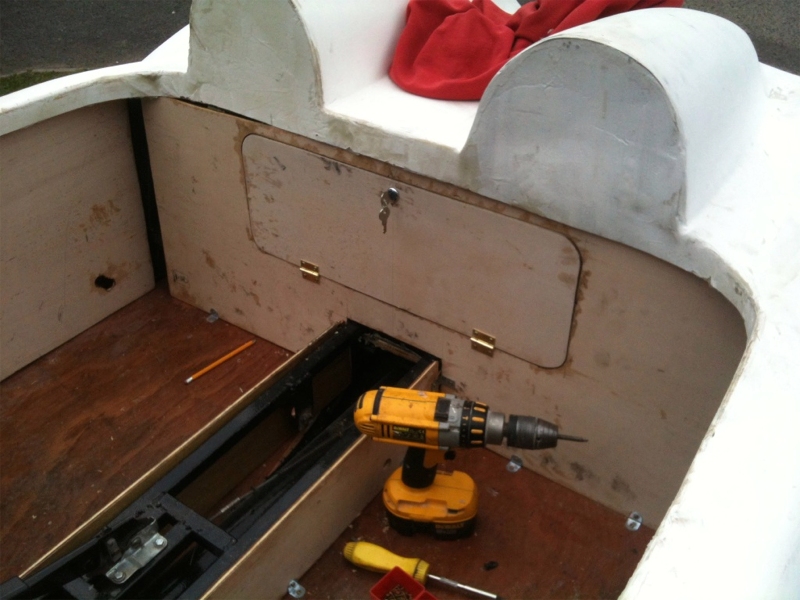
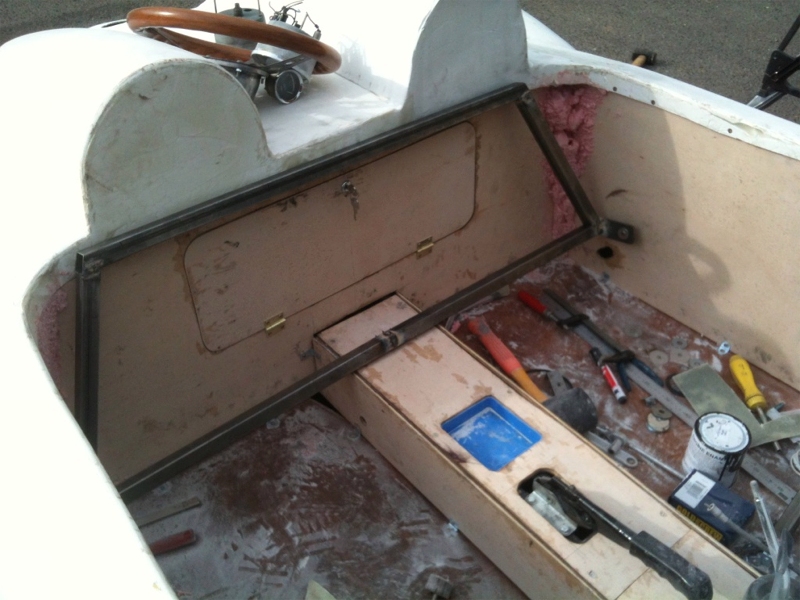
The weather has been a bit hit and miss, but I have managed to grab some time to get the interior panels finished and so it is started to really motivate me to get it finished! The side pockets came out very well and the rear luggage compartment door was fitted, with a lock so it can be made secure.
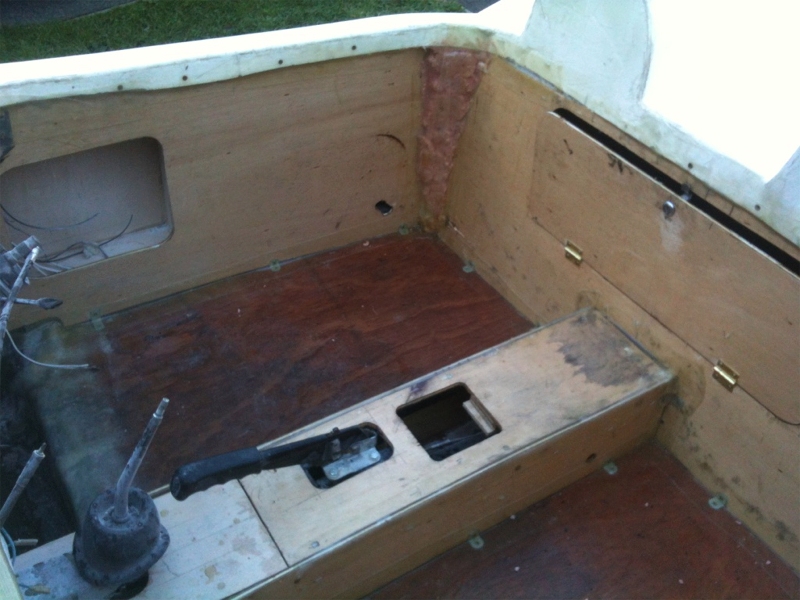
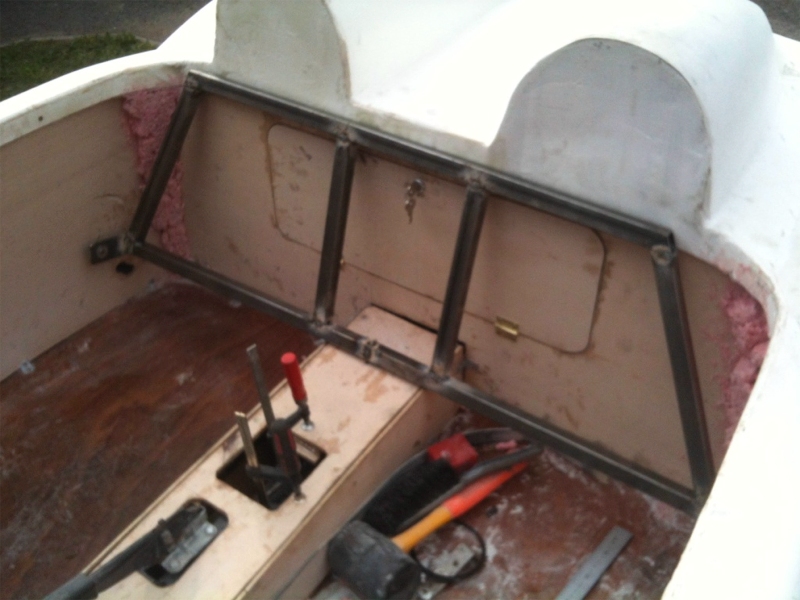
The back seat frame was next and since this will be a bench seat back, the frame needs to hinge to get access to the luggage compartment, but also to be able to be locked in position so it doesn't fly forwards. It took a bit of thinking about where to put the hinge point to make it clear the centre tunnel and also to work easily and have a convenient locking point. This was the starting pictures and it progressed quite smoothly!
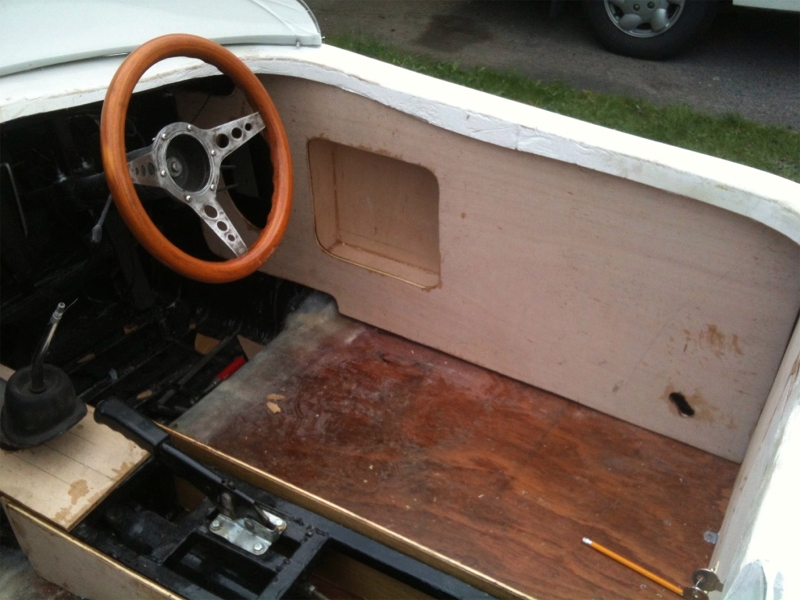
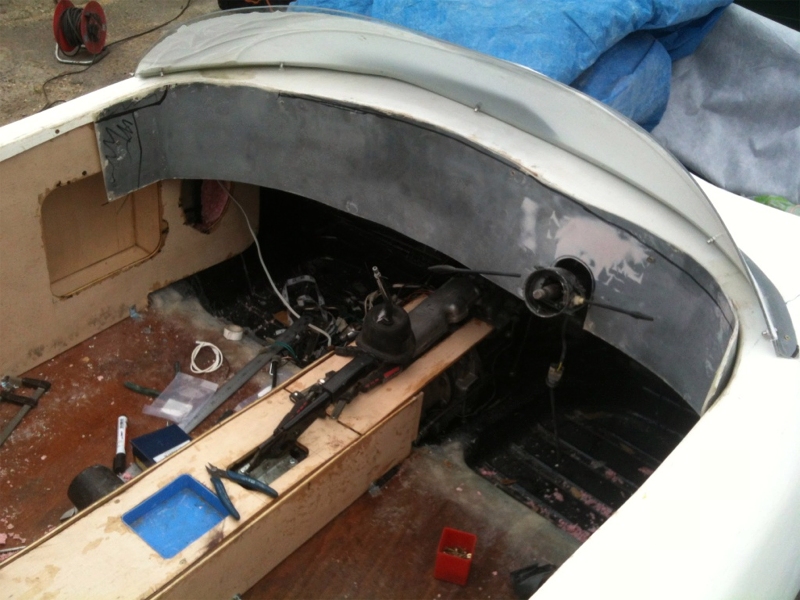
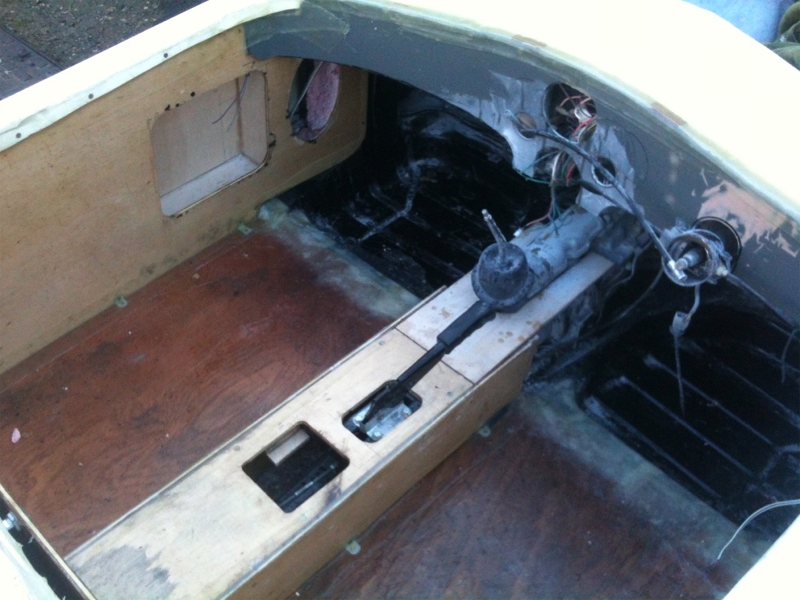
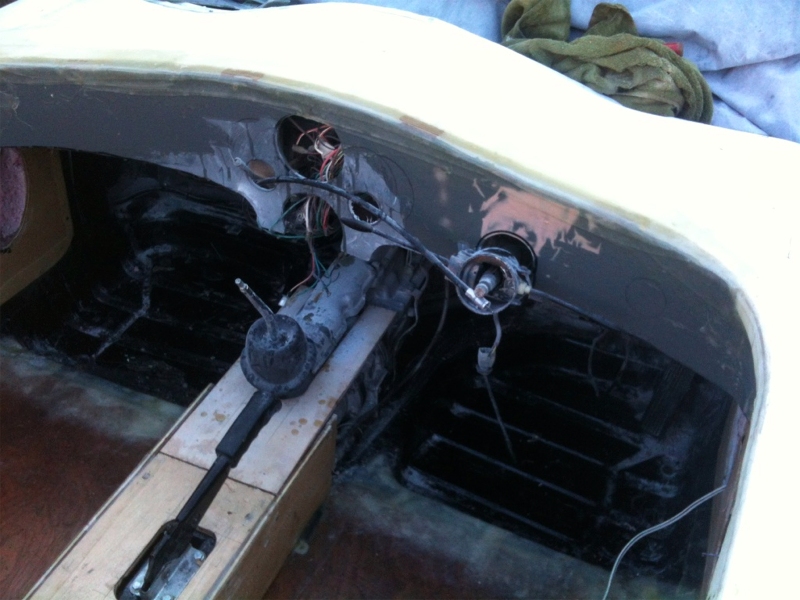
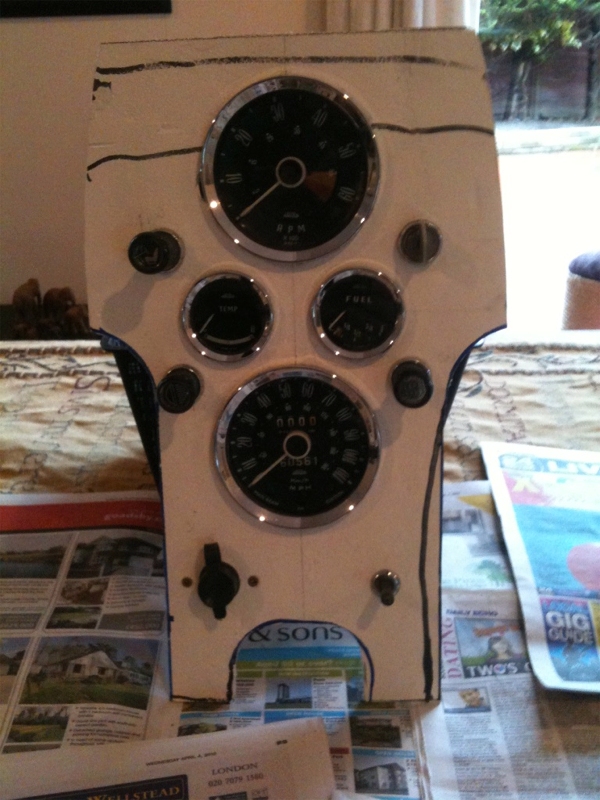
The next stage was to have a go at the dashboard. The dashboard panel comes as part of the kit and is a deliberately oversized panel to allow the builder to make whatever dashlayout takes their fancy. for me, this had to incorporate a centre console where the guages would sit, and they also had to clear the heater now installed behind it. This again tooka little bit of figuring out, especially as both the rev counter and speedo have mechanical cables out of the back of them which are not that flexible. The layout of the guages had to be such that they missed the heater unit and had room for the cables to run.

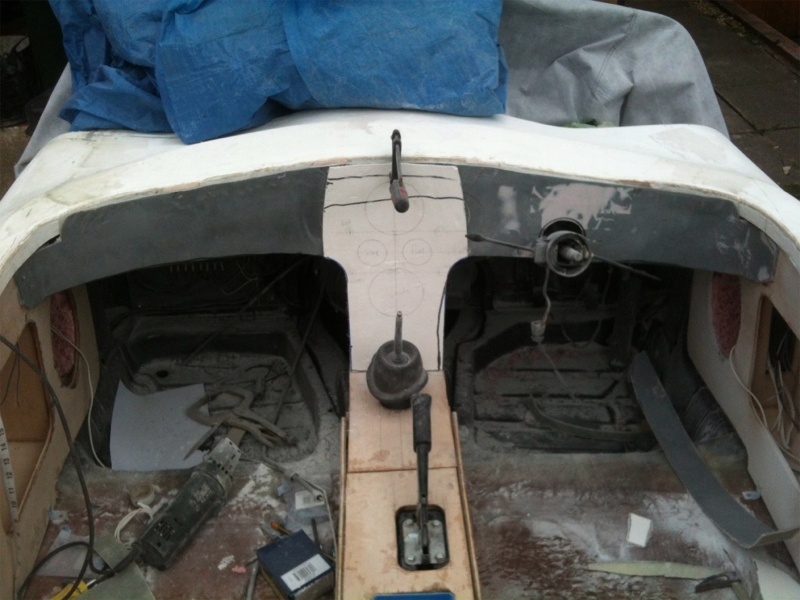
The end result was to move the dashboard 20mm forwards into the cockpit with some wedges of ply and curve it round to meet the side panels . I trimmed the panel to the shape I wanted either sie of the console and also where it met the side panels. I then screwed it into position and checked and double checked everything fitted before I eventually started to bond it all into place.
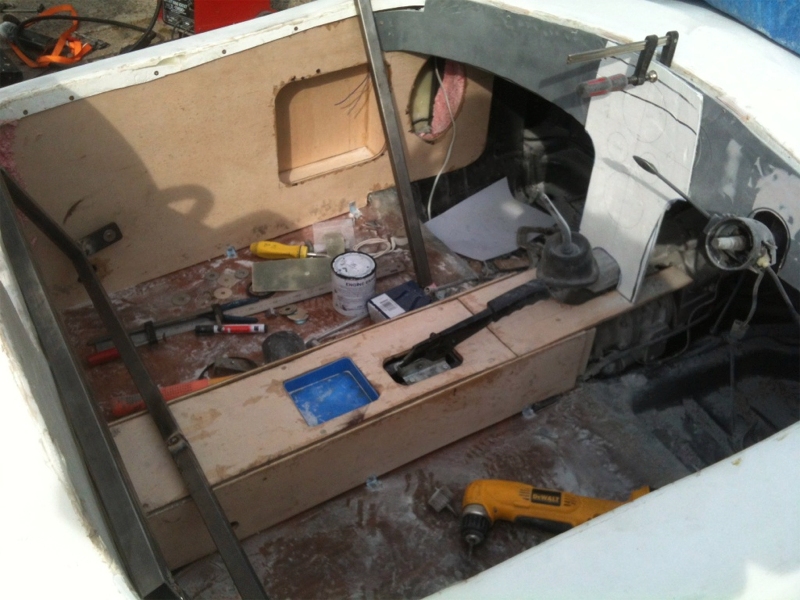
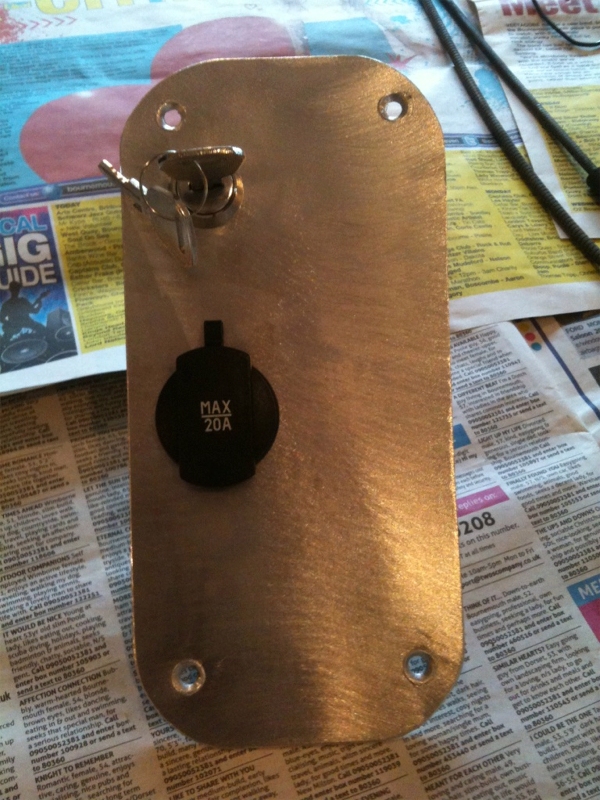
With the positions of the guages worked out, I put them all into the centre console panel I had made from the fibreglass I cut out of the bonnet to fit the grille! I love recycling. I also made up a small aluminium panel that will house a power take off for a mobile phone/ipod charger and the power to the amplifier that I am putting in to give us some music! The amplifier will simply run off an ipod, so no radio, but at least we can have music and it is a neat small unit that will tuck in the side pocket on the drivers side.
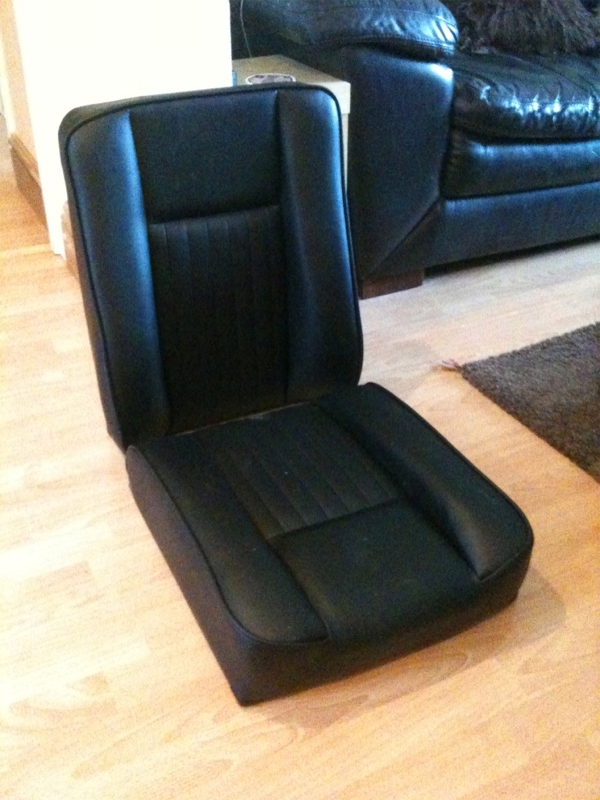
And last but not least, the seats turned up! I am going to use seat bases and backs from a Landrover Series 2/3 of all things. These are the back centre seats and come in two parts, and are just the right size. The seat bases will sit directly on the floorpans and the seat backs will mount onto the tilting frame that I made up earlier. The seat backs are about 3" too tall so I will take them apart and shorten them first. but for less than £100 all in and they come covered in nice black vinyl, they will be ideal. Since the car is open top and will live outside, I didn't want to spend a fortune on a leather interior which will get wet and stood on - remember the Spyder has no doors!!