15 April 2012 - More interior work
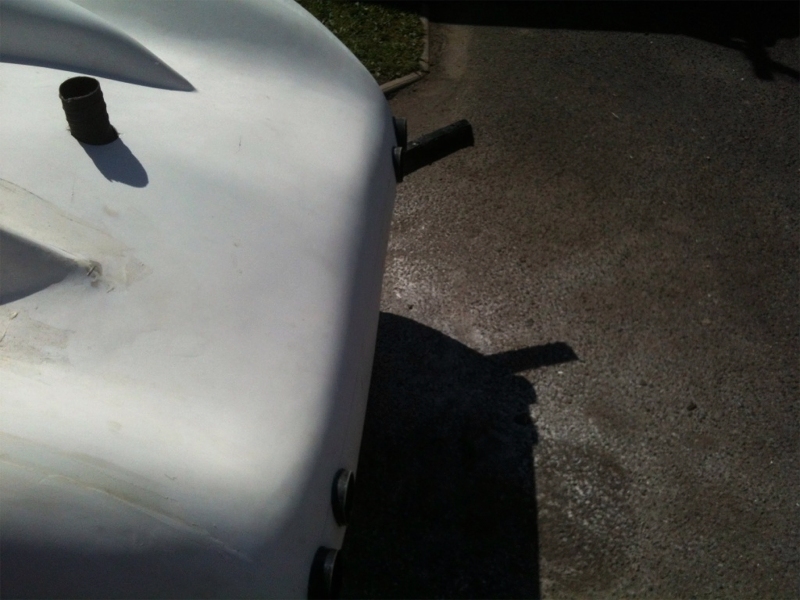
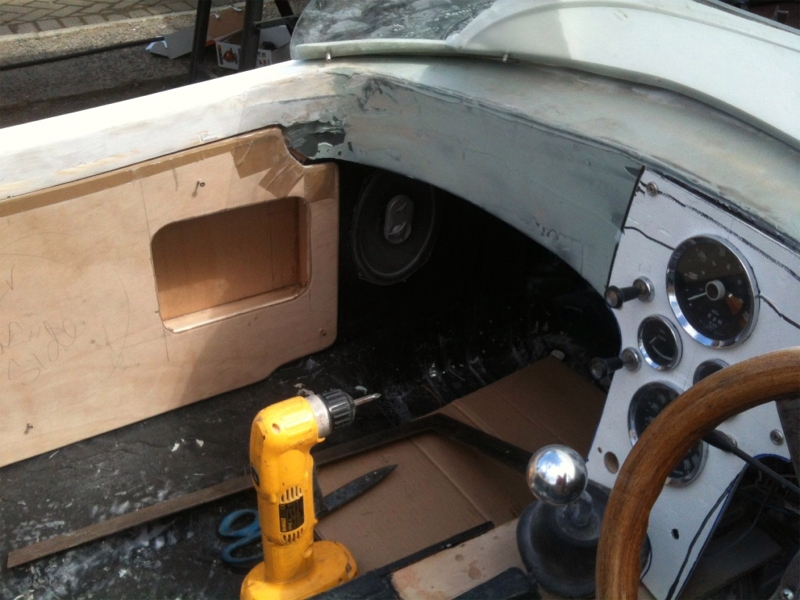
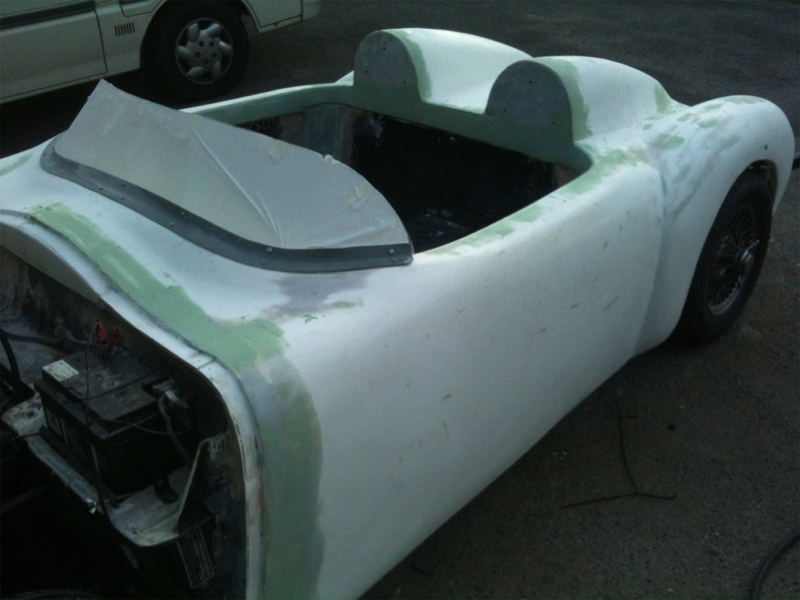
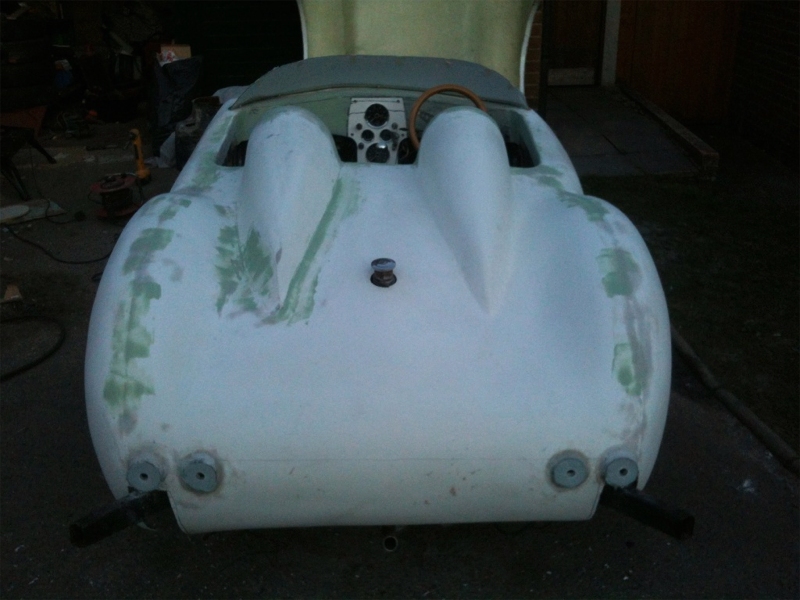
The sun was out, so I had a good weekend on the car, managing to get quite a lot done. The first job was to have a look at the rear lights, and using a bit of 68mm drainpipe, I cut some 6" sections and bonded them into the rear so I could mount my round rear lights into the raised pods. This will, I hope, give it a bit more of a factory look and not a kit car look. That's the theory anyway!
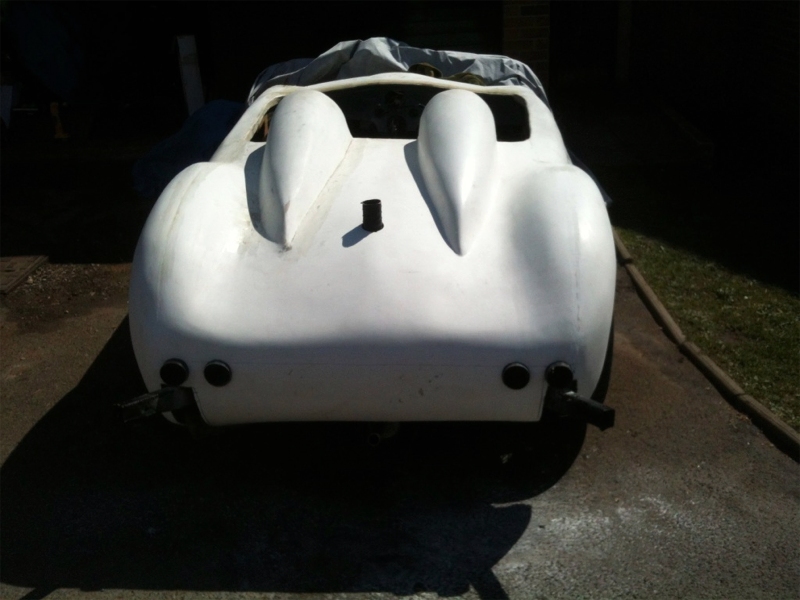
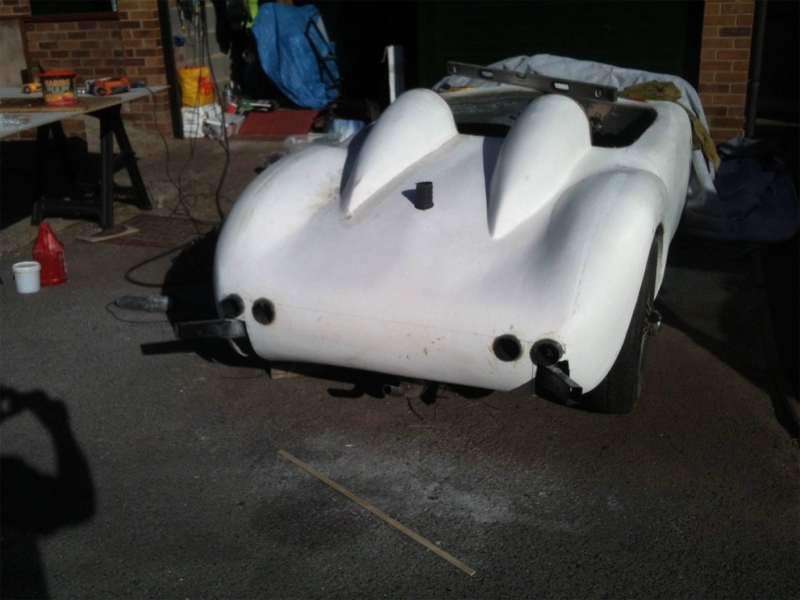
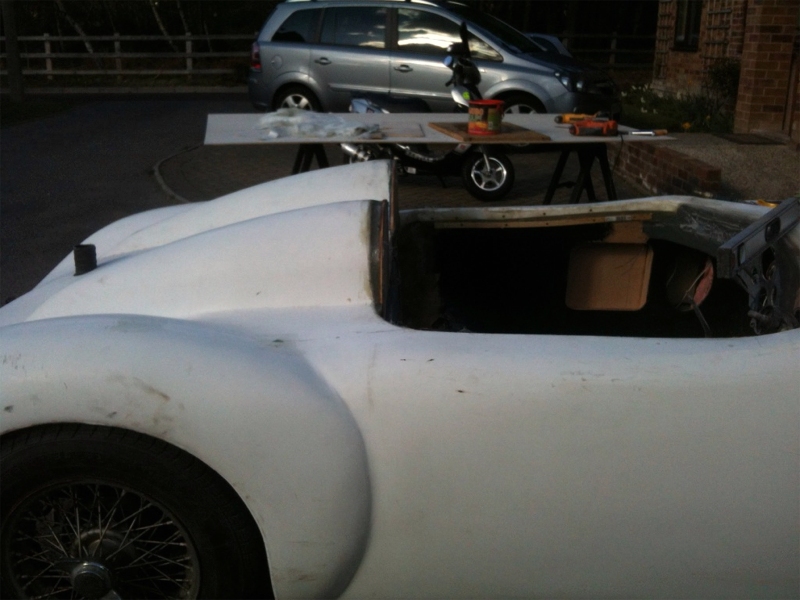
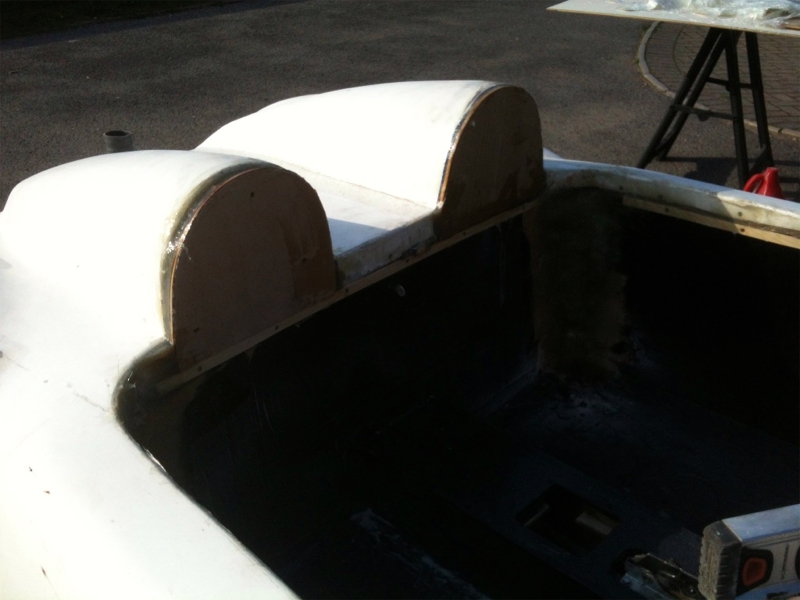
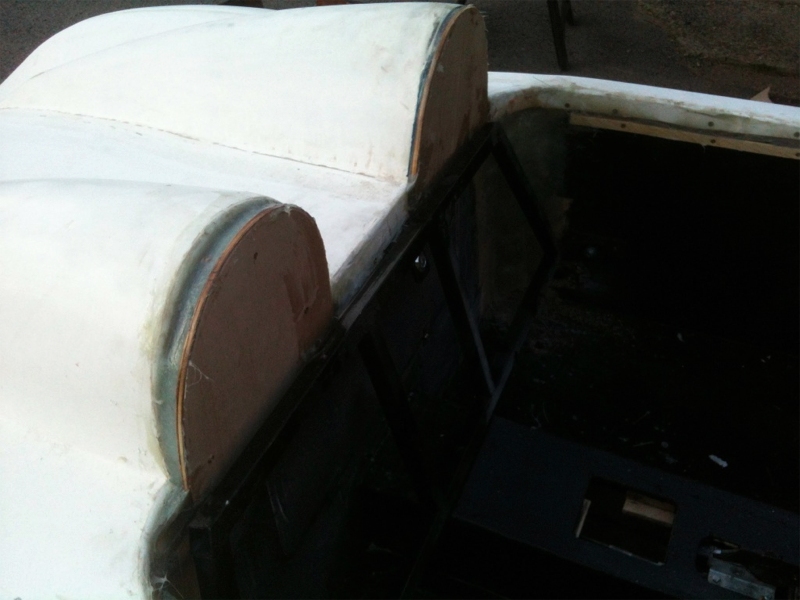
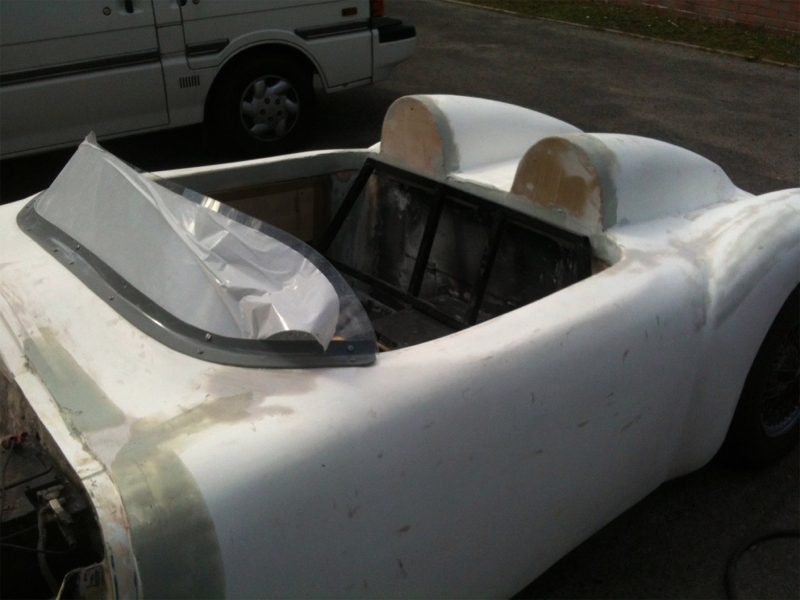
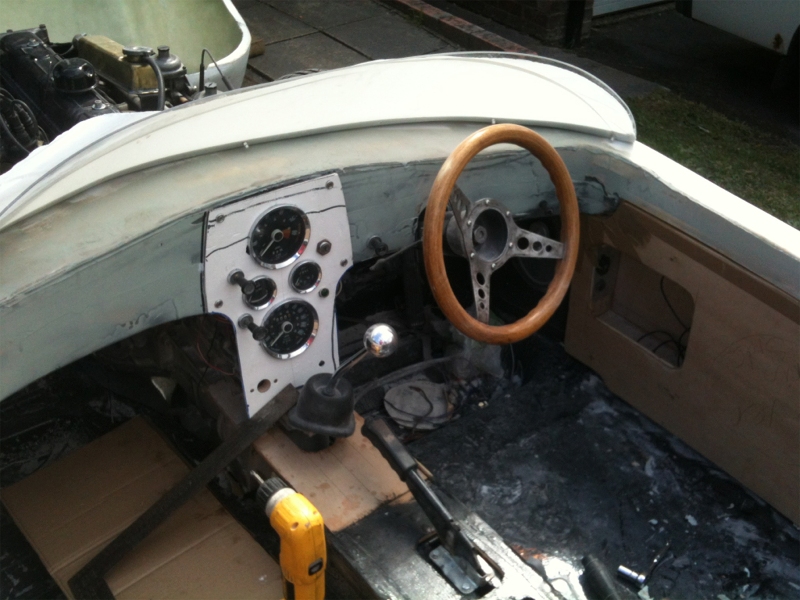
The next niggle I had was that the twin humps were not aligned and it bugged me since I got the body shell, so now that the body was solid and bonded on and the interior was starting to come together, I decided to make up some new headrest panels and bond these in. As you can see, I moved them both forwards about 30mm and 20mm respectively, so now they look right with the seat back in position.
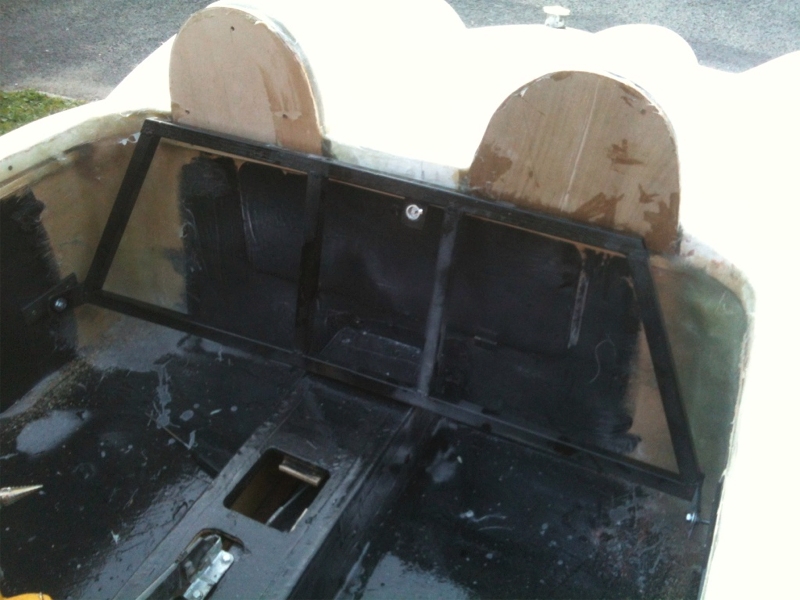

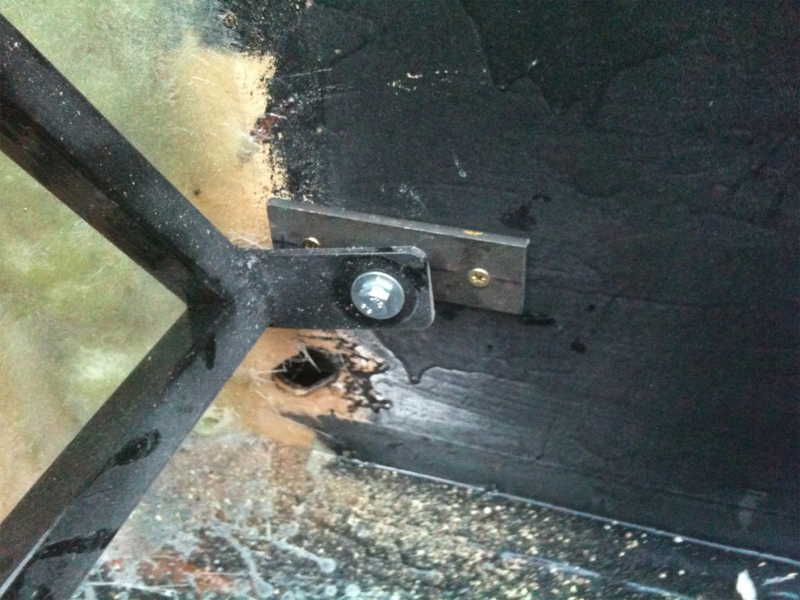
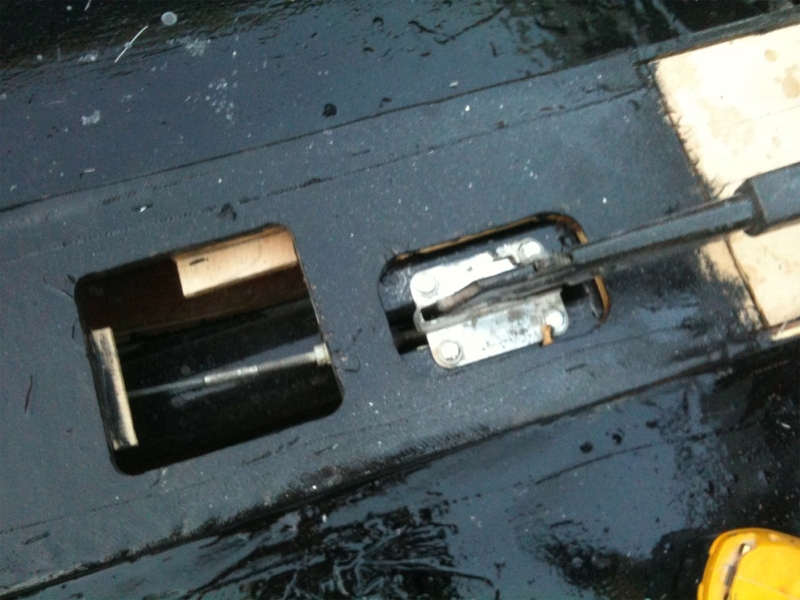
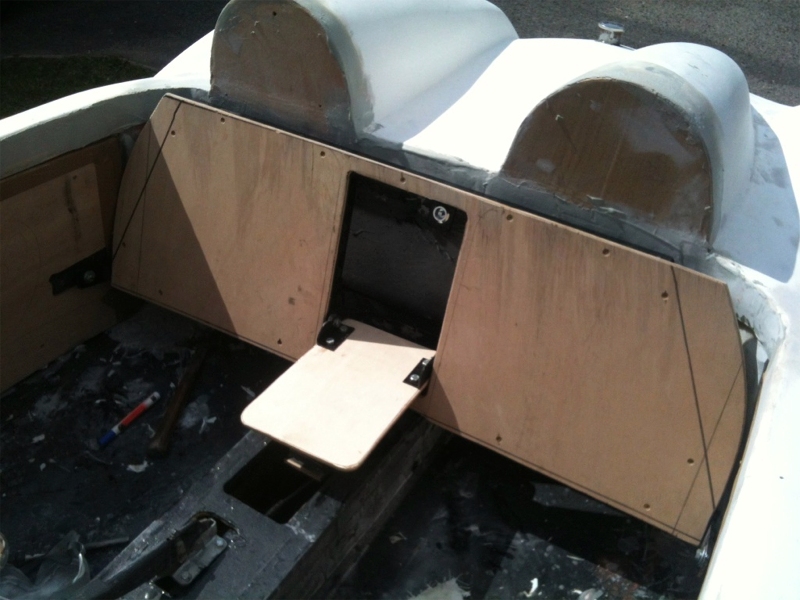
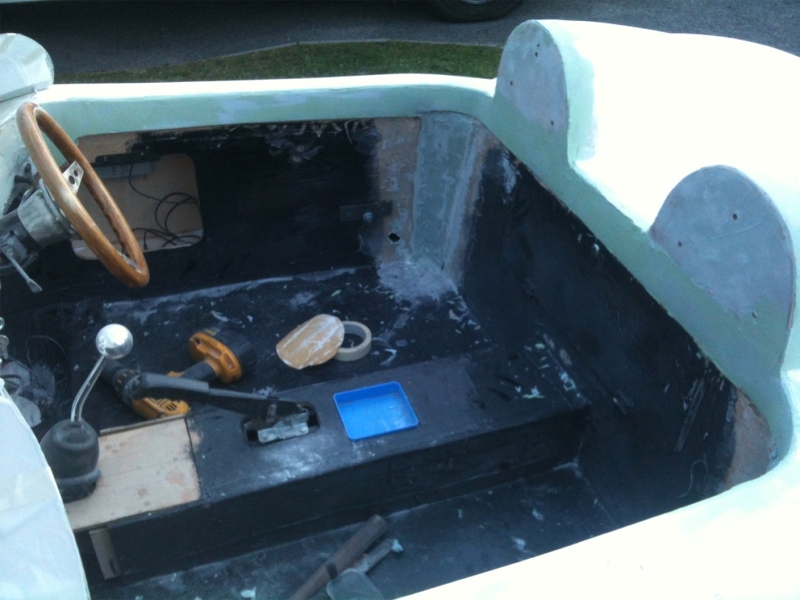
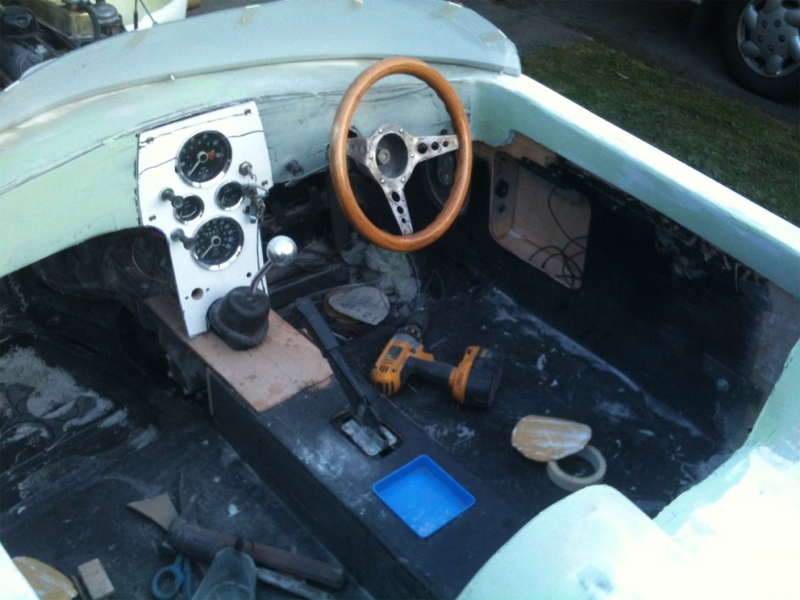
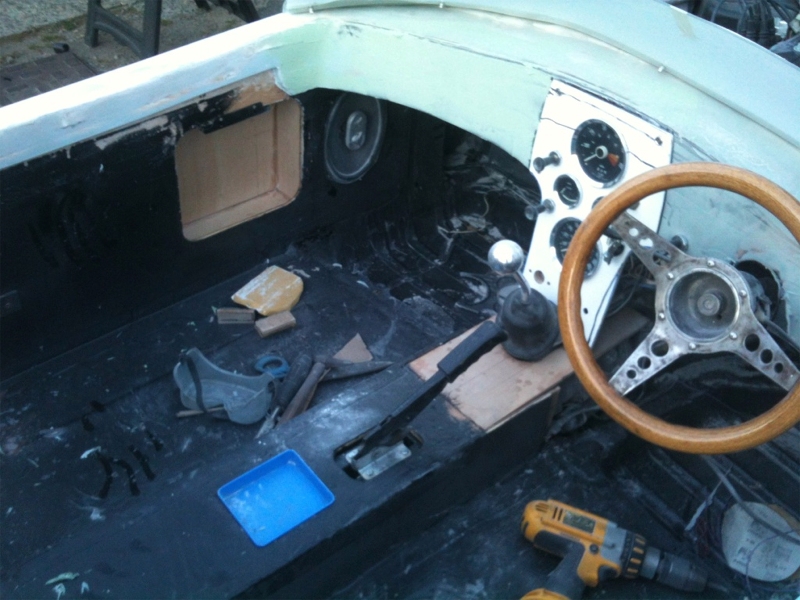
As few little jobs while the bonding was drying. The first was to make up a more sold hinge poin for the bench seat back, and this consisted of a piece of 5mm flat steel bar, with a nut welded onto the back of it and then it screwed into place on the side panel. This will be a little more robust with constant use of the tilting seat! Second job was to make up the locking mechanism for the seat so it can be held solidly in place. this was a simpel bracket with a cabinet type lock that uses a t-handle to open it. This adds a little extra security to the luggage area. Lastly, I made up a couple of stops that will hold the coin tray in position in the centre tunnel. I know this may sound a bit twee, having a coin holder, but is serves a purpose to provide access to the handbrake adjusting screw from the top, so I don't have to crawl on the floor to adjust the handbrake!

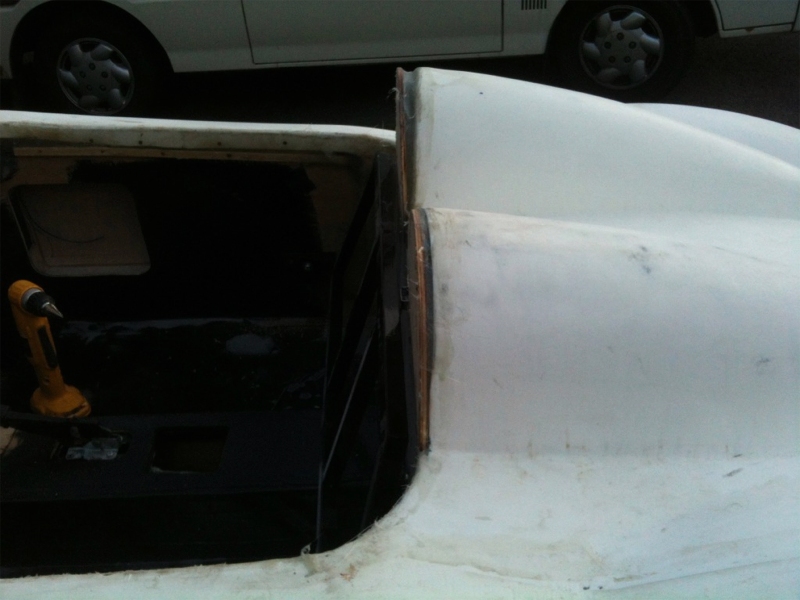
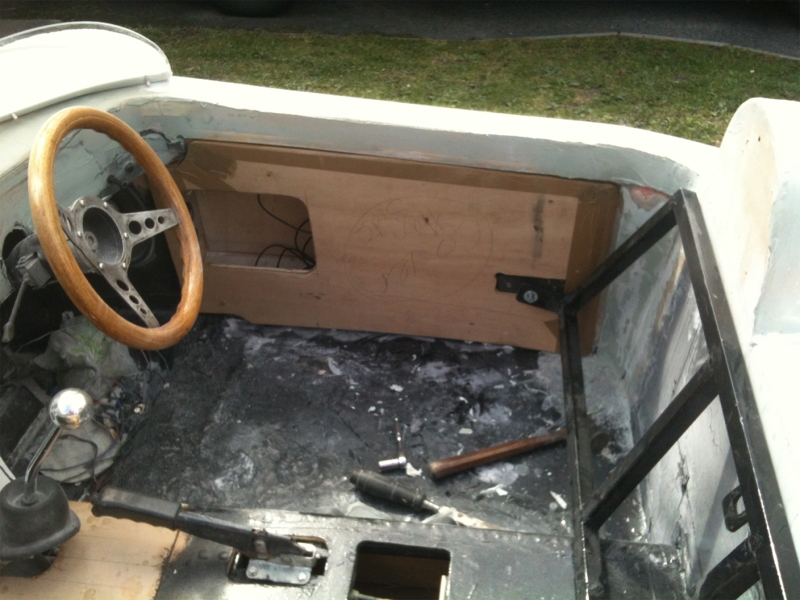
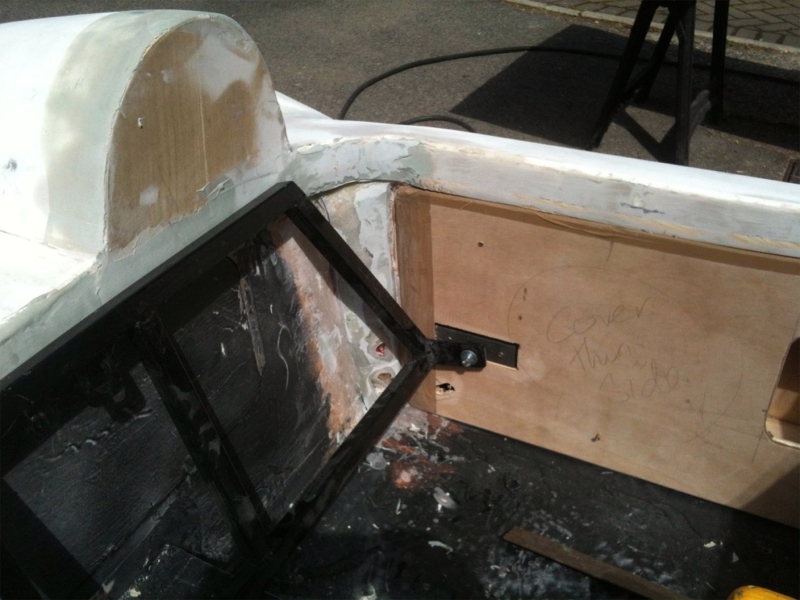
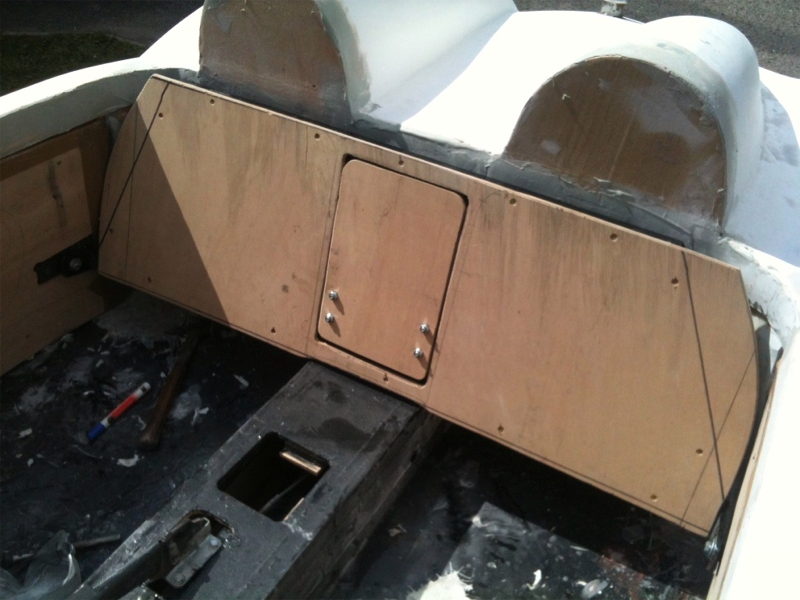
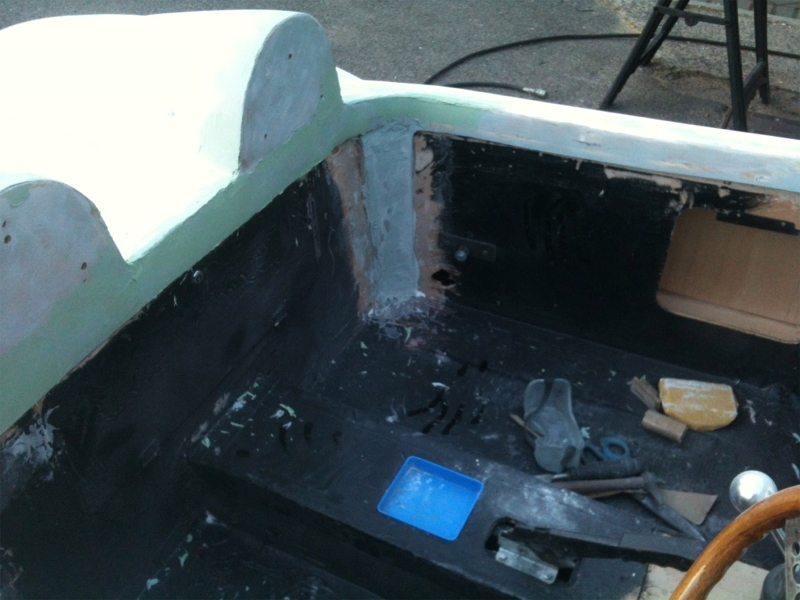
With those little jobs out of the way, I made up the side panels that will eventually be covered in vinyl. These we going to be made out of 6mm plywood, but I had loads of 9mm plywood left, so that got used! I decided to have these panels sunk into the sides so that the top band around the cockpit would be painted the body colour. Also it keeps the panels out of the way while you are getting in and out of the car. As you can see by the pictures, I put packing tape around the edges of the panels and then backfilled the bodywork with filler to get the sunk in look. The packing tape ensures that no filler sticks to the panels.
And while all that was drying I made up the seat back complete with folding armrest! I know you are thinking I am some sort of tart with all these little 'extras' but the armrest folding down also hides the catch for the locking mechanism and the luggage compartment, so it has a practical use too!
It was then down to mixing up more bodyfiller and starting to tidy up all the bits and pieces around the panels, headrests and the cut'n'shut work at the front. This is the start of a long grind to get the bodywork ready for painting. I have not yet decided whether I am doing it myself yet, I will see how I go in teh next few weeks!

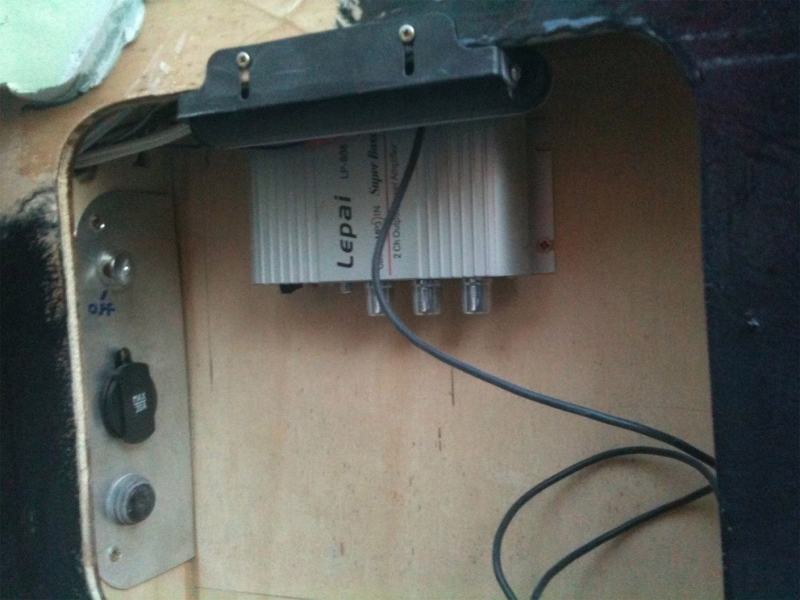
In between filler drying I did manage to make up a bracket for the exhaust and also mounted the small amplifier ready to test the speakers!