
11 Mar 2012 - Frame modified
Another great day weather-wise and the build took a huge step forward today! I took loads of pictures as I went along, so I have put them in the text below so you can follow the build easily. If you want other pictures, email me and I have loads!
Since I had a good day yesterday, I would have been pleased with just getting the floorpans made up, but instead I got loads more done. I went to B&Q in the morning first thing after measuring up the floorpans and deciding what size sheet of plywood to get. I settled on 18mm exterior ply and got them to cut up a 2440mm x 1220mm sheet into two main bits, both 950mm x 700mm. The other bits left over would be used later in the build.
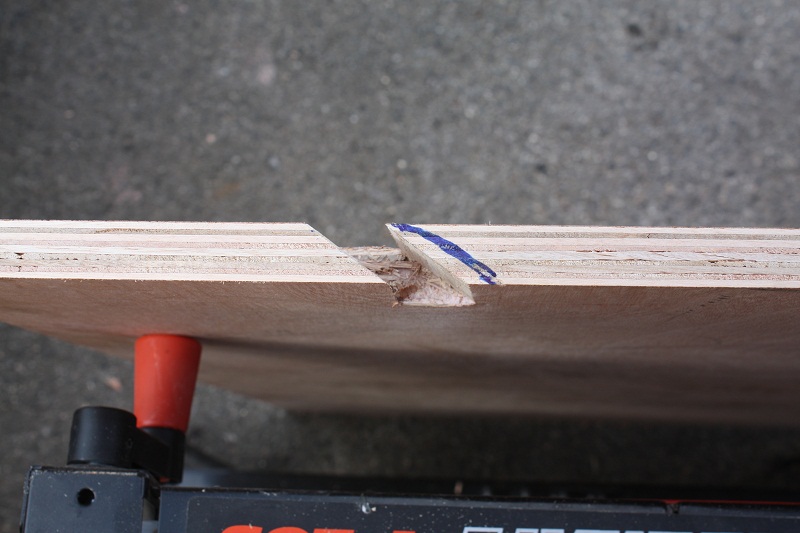
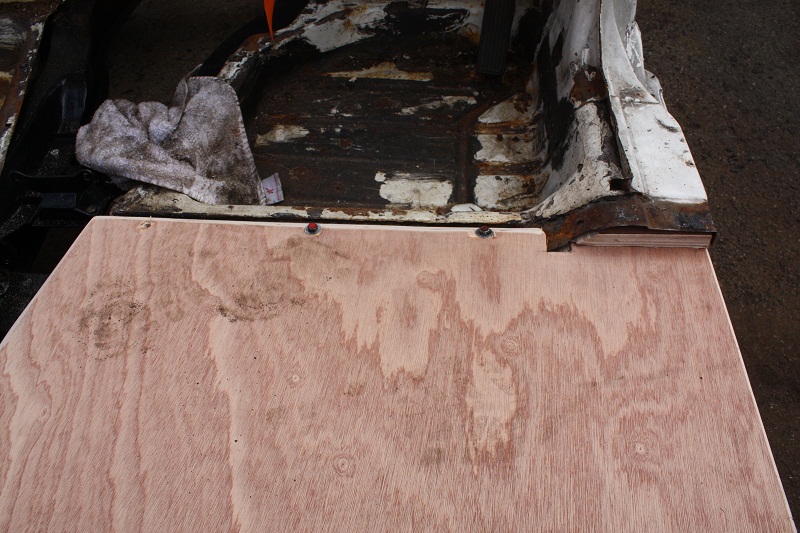
The floorpans just needed shaping and trimming when I got home, and I decided to cut an angled slot in the plywood to sit them over the bulkhead mounts. This was it could be neatly bonded in and pick up the original mounting holes on the chassis. I had also decided on cutting the floorpans in a curve to follow the chassis curve, so it would look neater and spread the load more effectively. I know you won't see them after the carpet is in, but I am a great believer in doing a good job on the things you don't see as well, it makes me feel better!
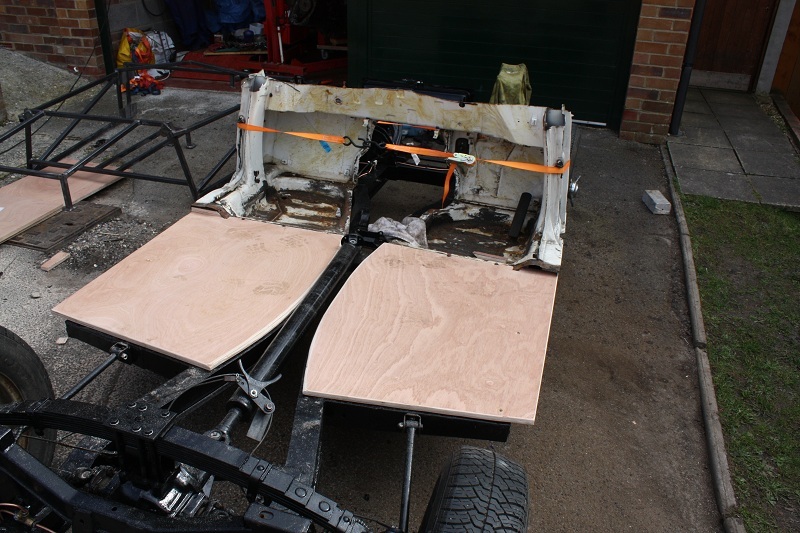
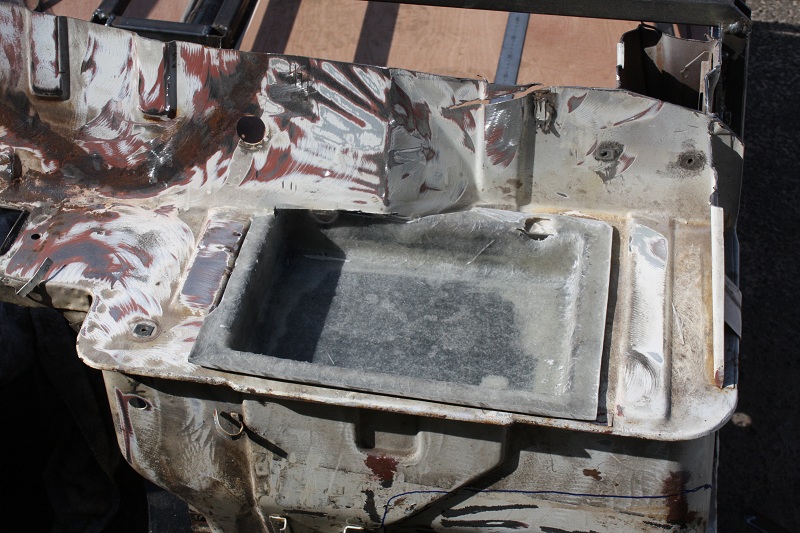
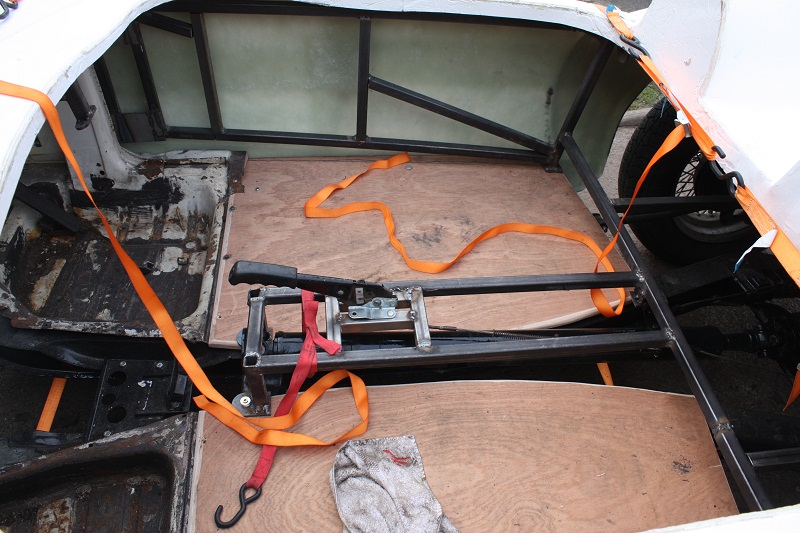
The frame was a bit of a struggle to get onto the bulkhead, and in the end, a combination of ratchet strap and clamp seemed to do the trick, and it slotted in to line up with the old door hinge mountings. One thing to bear in mind if you are building one of these cars, is that they are 40+ years old and everyone is slightly different, so when none of the other mounting holes lined up, it was not a surprise and a bit of levering got a couple in with minimal problems. I did have an issue with the rear mountings and since I was cutting the frame to do some modifications anyway, I simply lined these up when I had made my cuts and before I welded it all back together. While I had the cutting disc out (1mm cutting discs on a 4" angle grinder are a must for this type of build!) I cut the hole for the recessed battery tray supplied by Gary at Sammio. A bit of fiddling, but will be a very nice job when it is bonded in. At this point I also marked out the floor pans for trimming and this ended up being a neat finish against the body.
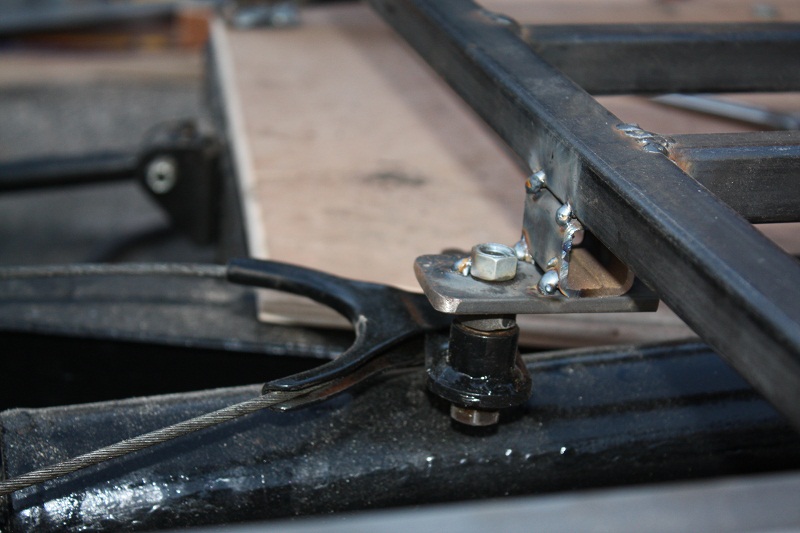
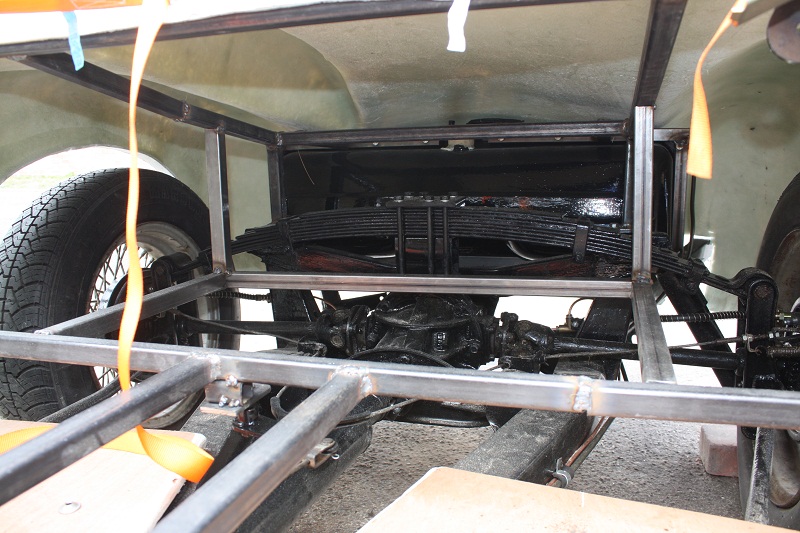
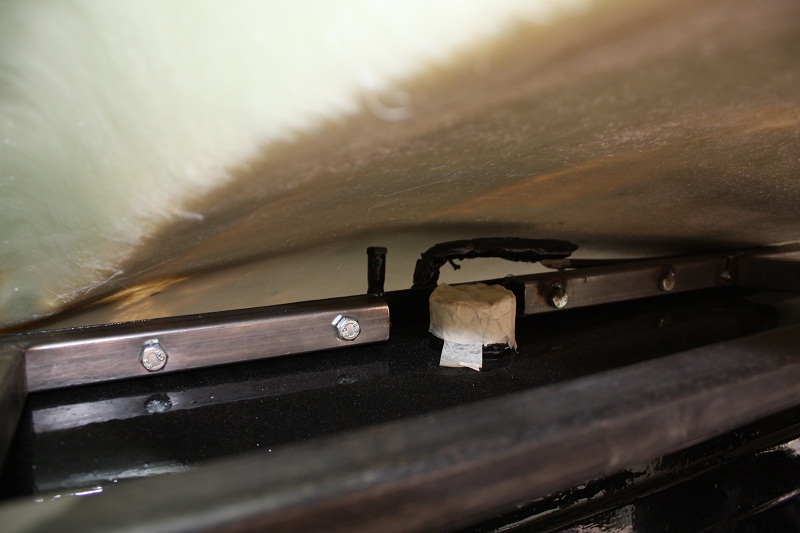
With the mounting holes all lined up and the frame tack welded in the key places, I fabricated the new mountings for the petrol tank. I am using a Spitfire Mk4 tank with the sender unit towards the rear of the car for easy access and maintenance. This also means the fuel filler will be set back further, which is not too much of a problem, in fact with the two humps, it would have been a pain to get to in the "normal" place. The petrol tank mounting is simply 1" box section with bolt holes that pick up the original tank mounting points, and the frame has two 'feet' that will be bolted to the rear chassis legs, so as not to affect the VOSA inspection - no chassis modifications are allowed to comply with the 'rebodied classic' rules. As you can see from the pictures, it turned out quite well, and I was pleased with the results.
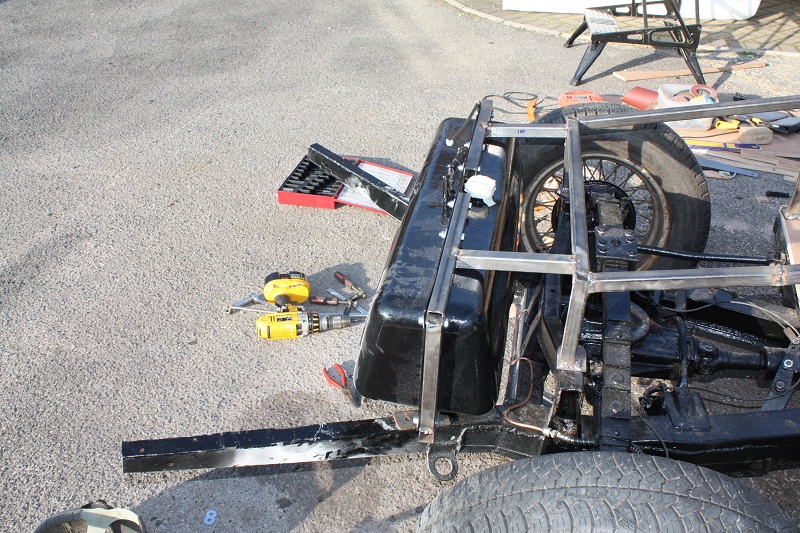
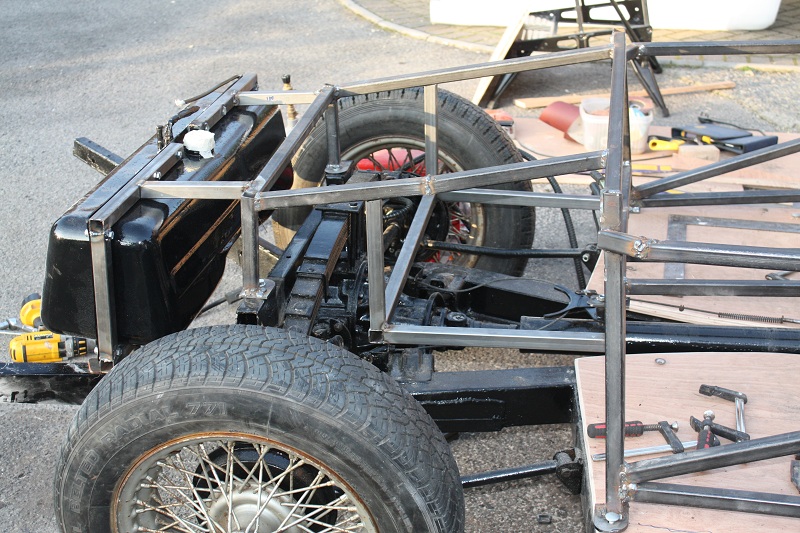
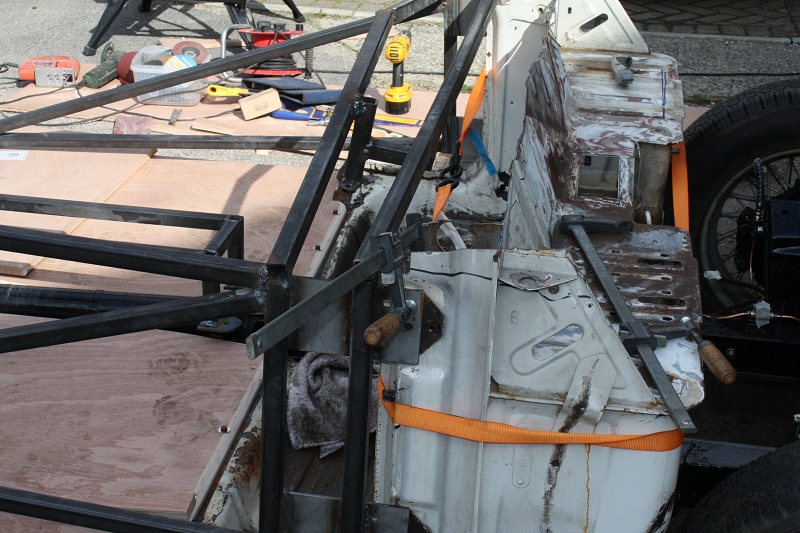
You may notice that I have chopped the crossmember in the side and put in two vertical bars. This is to allow me to put a 'door' pocket in each side for extra storage, and also to break up the large panel either side of the cockpit. Well that's the theory anyway!
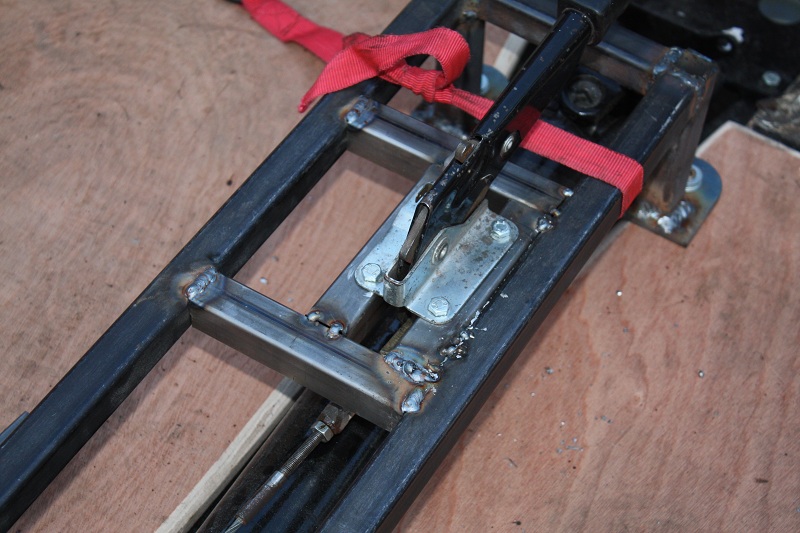
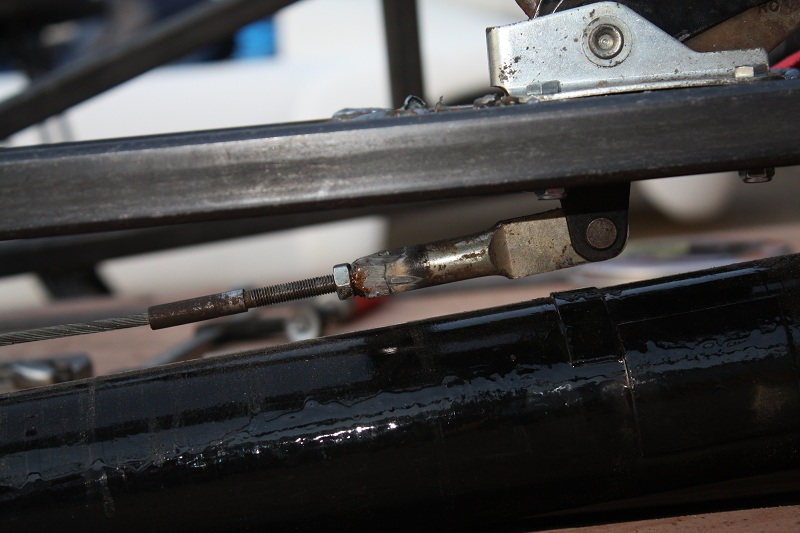
Since the time was only early afternoon, I had a go at mounting the TR7 handbrake I got from ebay. This was chosen because it had a nice flat mounting plate and a cable connection underneath which seemed to fit with what I wanted to do. Firstly I mounted the pivot bracket and I had to space it down with a bit of box section so it was in the right place, and then I looked at the length of the original vitesse handbrake cable to position the new lever. Since the TR7 handbrake had a bigger screw thread on in, I simply welded a nut on the end and this meant I had a very neat cable adjuster that was positioned perfectly and made for easy adjustment. I will put a small lift out cover in the centre tunnel to access the adjuster to save me climbing underneath the car each time!
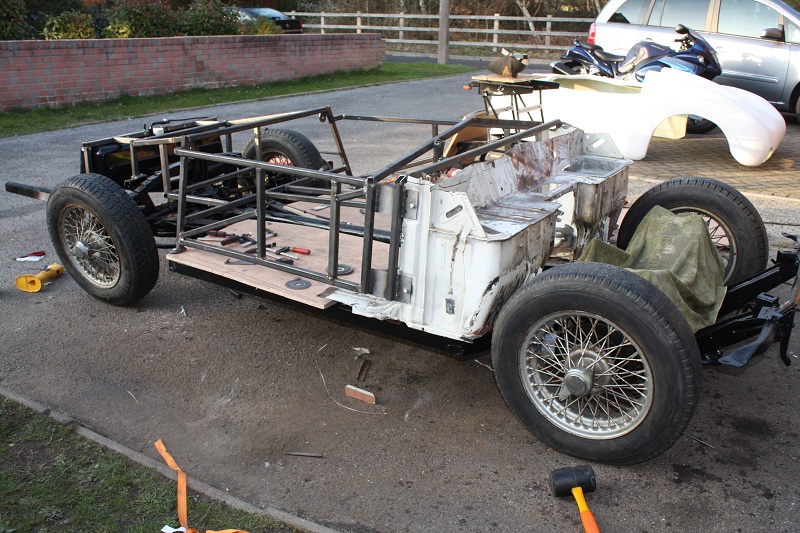
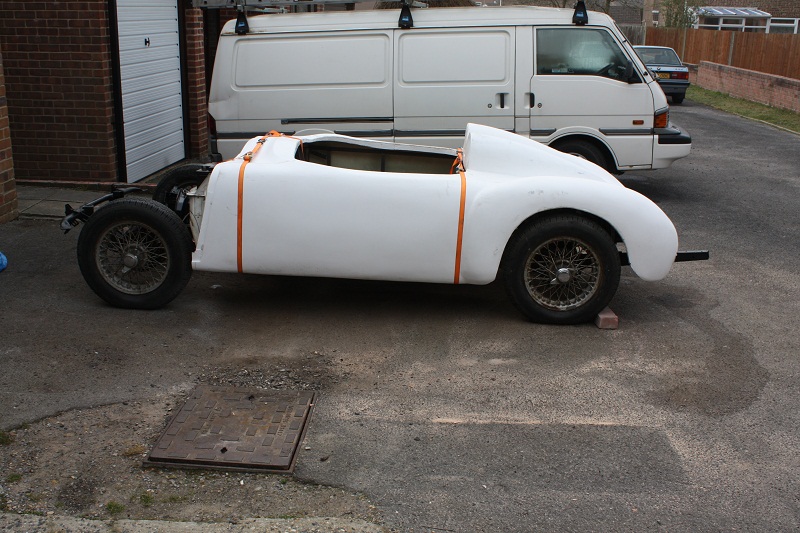
I was feeling chuffed with myself by this time and I decided to offer the body up to check the clearances and see what the tank mountings would be like. As you can see from the pictures below, the body just rests on the new tank mountings and so I was in two minds as to drop them a bit, but with my 15" wire wheels on now, a bit of suspension settling, a full tank of fuel and my lardy frame on board, it should sit quite nicely, so I decided to leave it alone. Having a coffee before clearing up, I drilled a small hole directly above the fuel tank filler hole and it was dead centre in the body, so I was chuffed to bits!
You may notice as well, that I have trimmed the fibreglass body a bit around the bulkhead, and this is for two reasons: the first is that I think it is made a bit generous so sits high on the drivers side, and secondly the body is made to fit around the original components such as brake and clutch master cylinder and battery, and since I have taken all this out, I want to make a neat job of the bulkhead and so I will spend a bit of time bonding this in nicely.
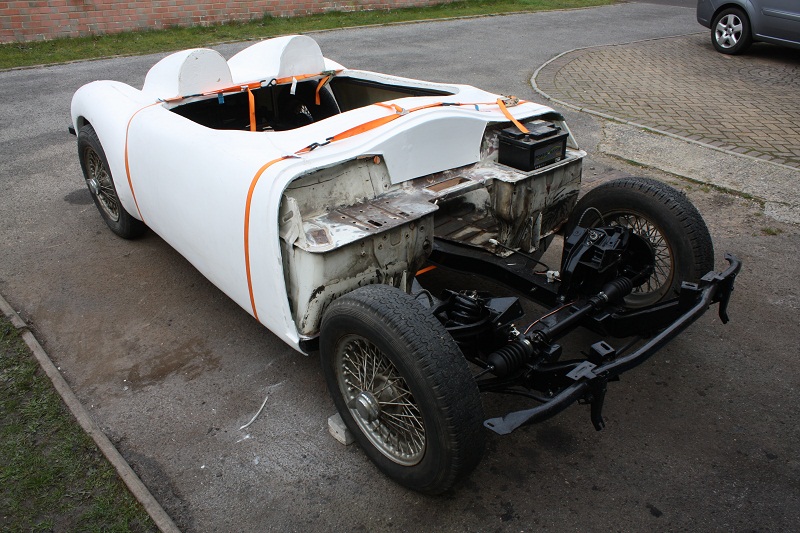
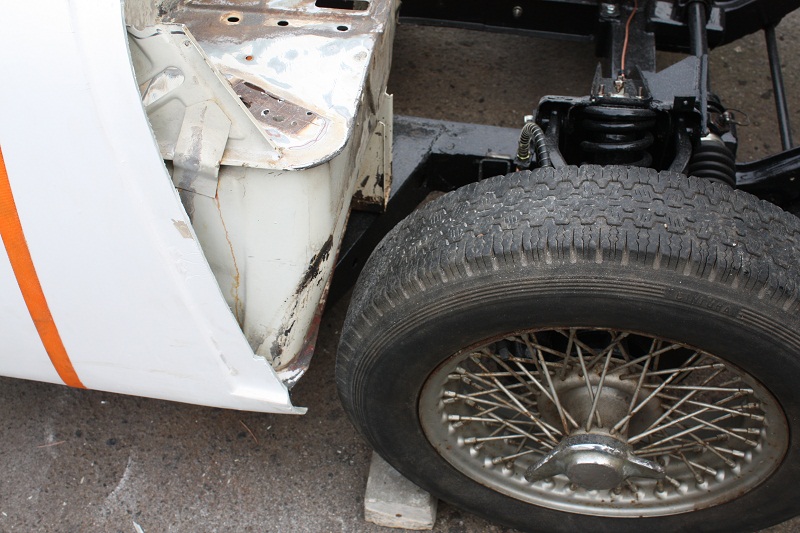
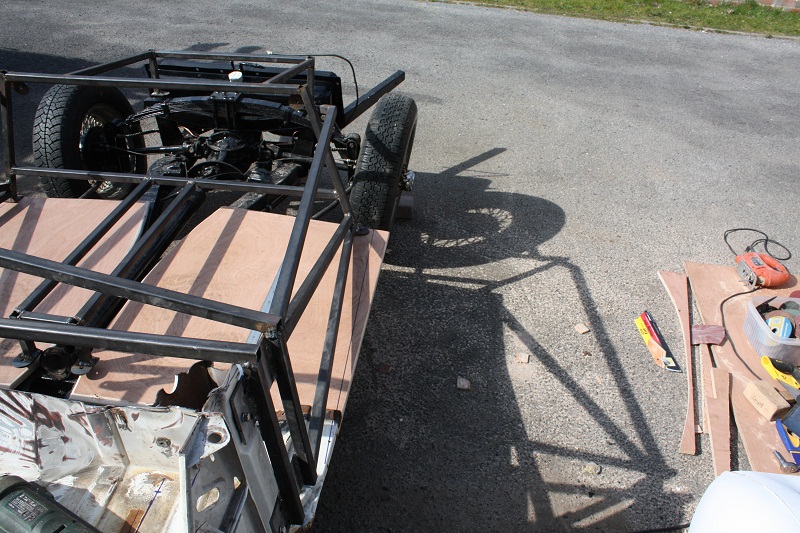
The last job of the day was to revise my plans for the 15" wire wheels, which as you can see have not a lot of clearance to the bulkhead. I can modify the bulkhead but with the 165/80 R15 tyres on the wheels already, they rub on the chassis front outrigger too, which is a little more drastic. A lot has been said about wheels and tyre options on the Sammio forum at www.madabout-kitcars.com, so I will revisit the discussion thread to decide on what to do about them next!

