31 Mar 2012 - Wiring and heater
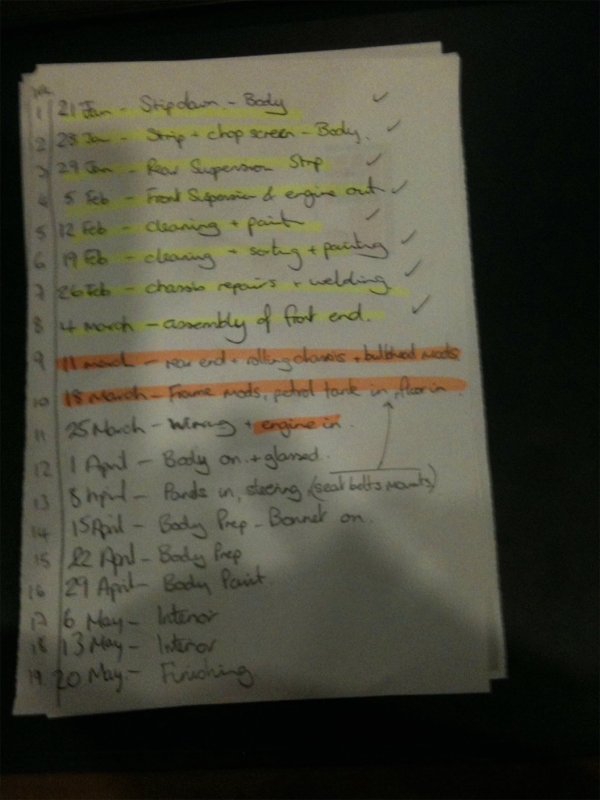
Well, the break in the Pyrenees was very relaxing and I took the time to revisit my original "plan" for the build. It was a quick guide to each stage, and is useful to keep going back to and check I am still on track!
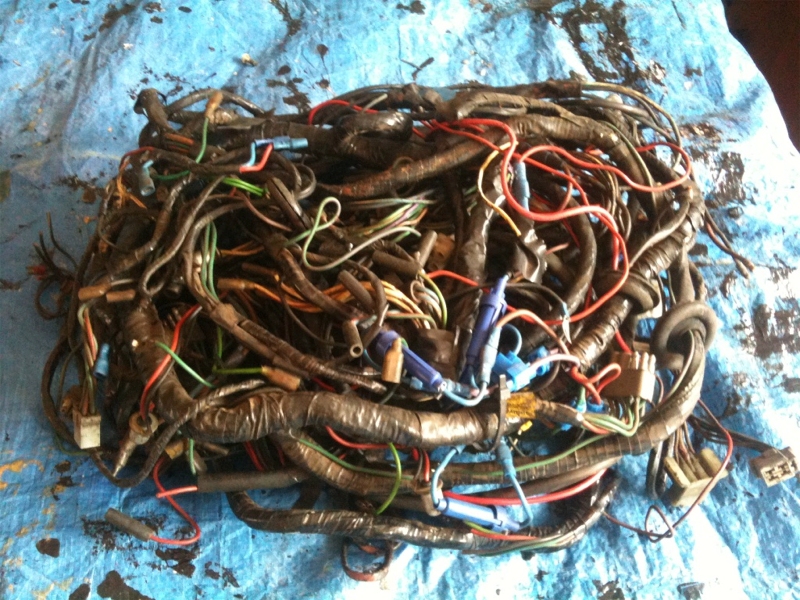
I started on the wiring this weekend and bought a couple of spare Triumph wiring looms from ebay so I could strip them down and use the right coloured cables when I modified my old Vitesse loom. It was a messy business, as I had to strip all the outer pvc tape and then clean the wires with a bit of white spirit to remove the sticky bits. A pain in the arse really but a lot cheaper than going out and buying all the right colour and size of wires that I will need.
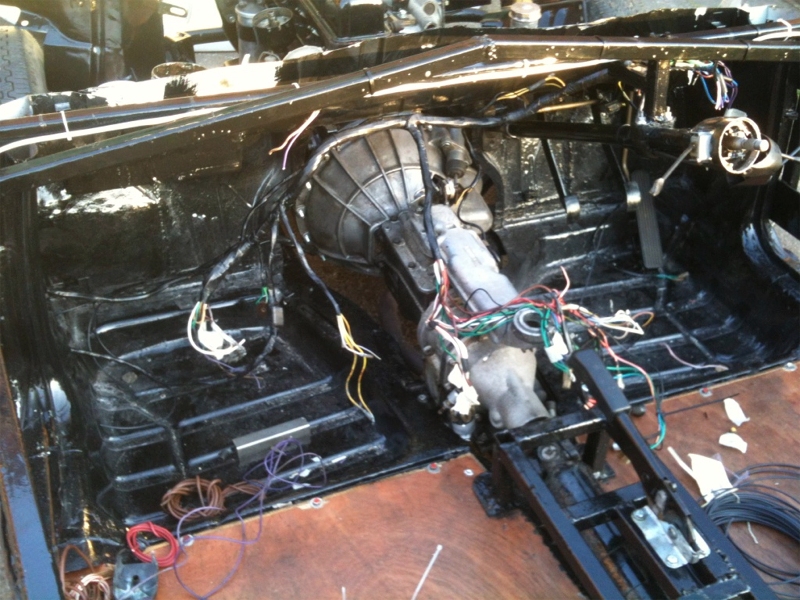
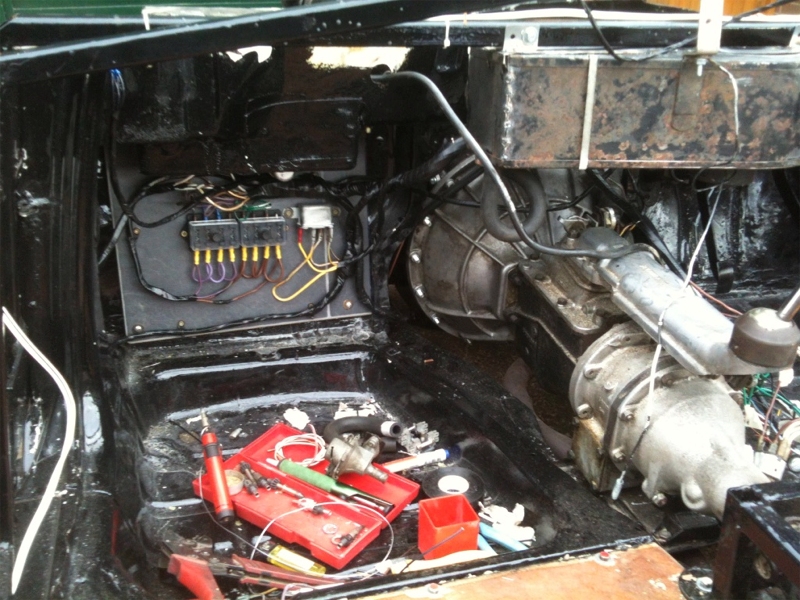
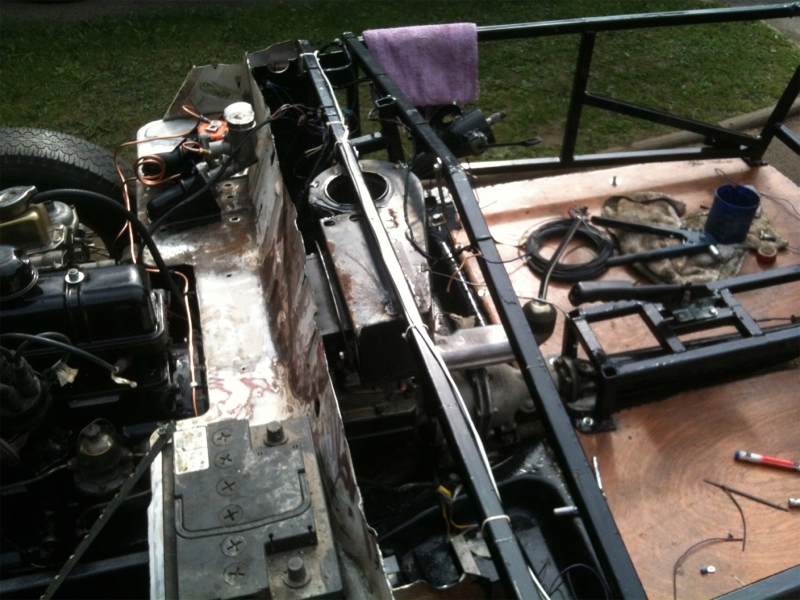
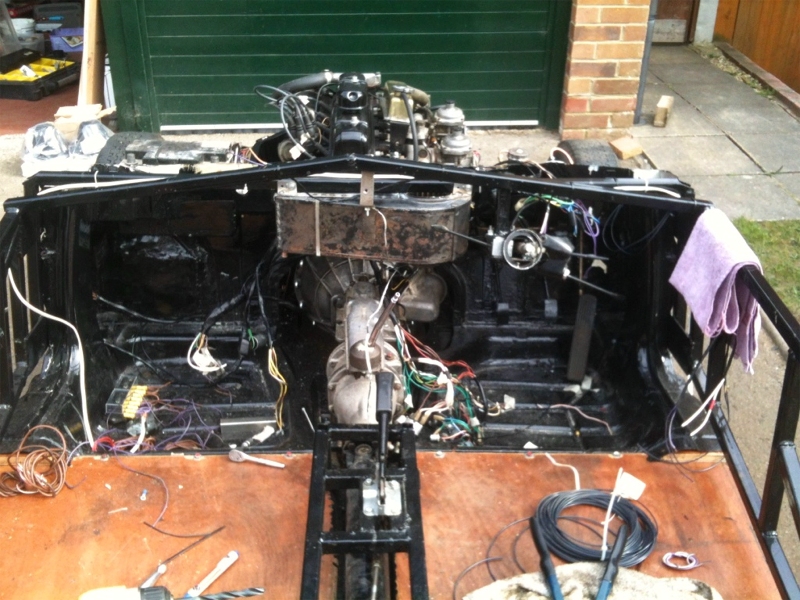
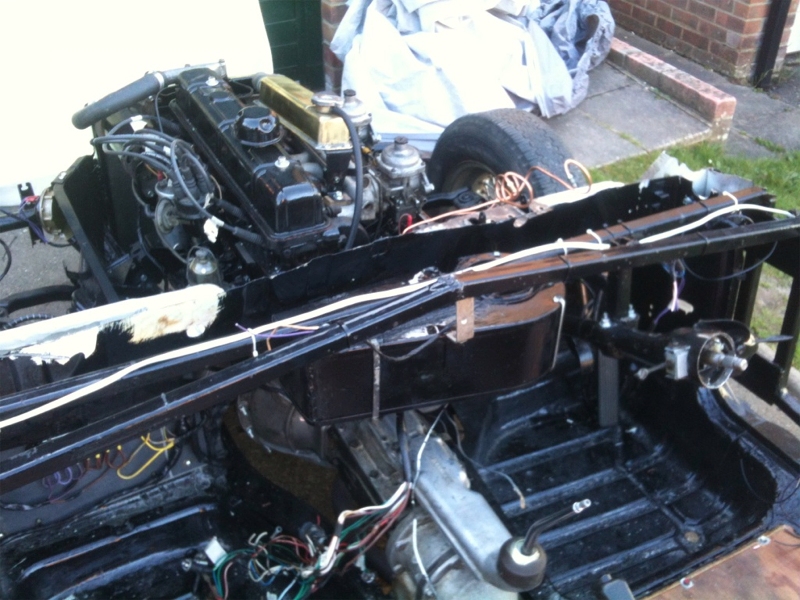
I ran the modified loom around the frame, as it is miles easier to do it when the body is off, than clamber around on the floor trying to attach it! Hopefully it won't ever get removed again. Every joint was soldered and heat shrick tubing used to protect it. It was all wrapped in pvc tape again for added protection. A point to not is that you need to remember to run lots more earth cables around the car, as there is no metal bodywork that will act as an earth so everything needs to go back to the frame. This is important for all the lights where local earthing is not now possible due to it all being glassfibre!
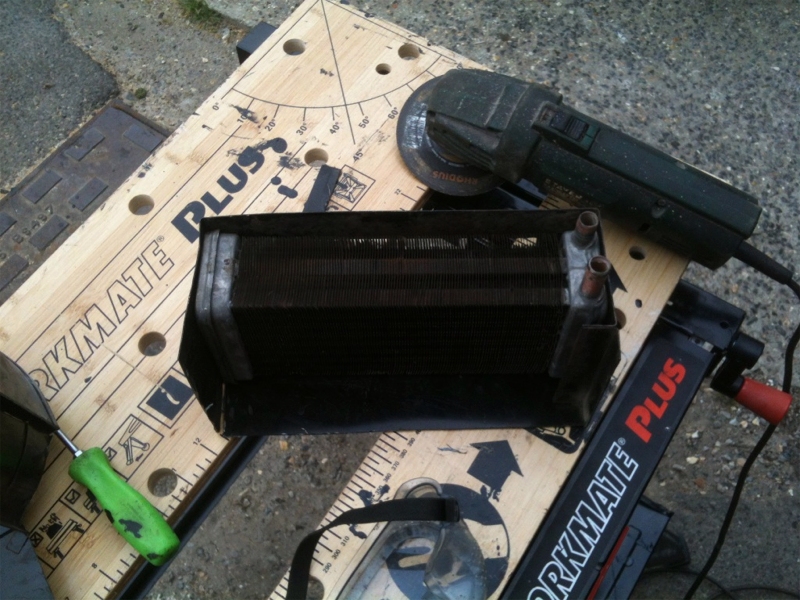
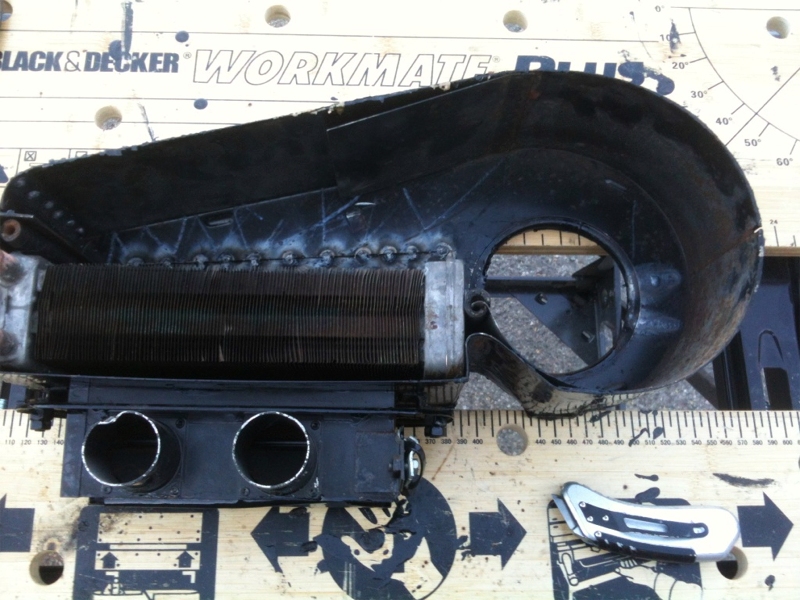
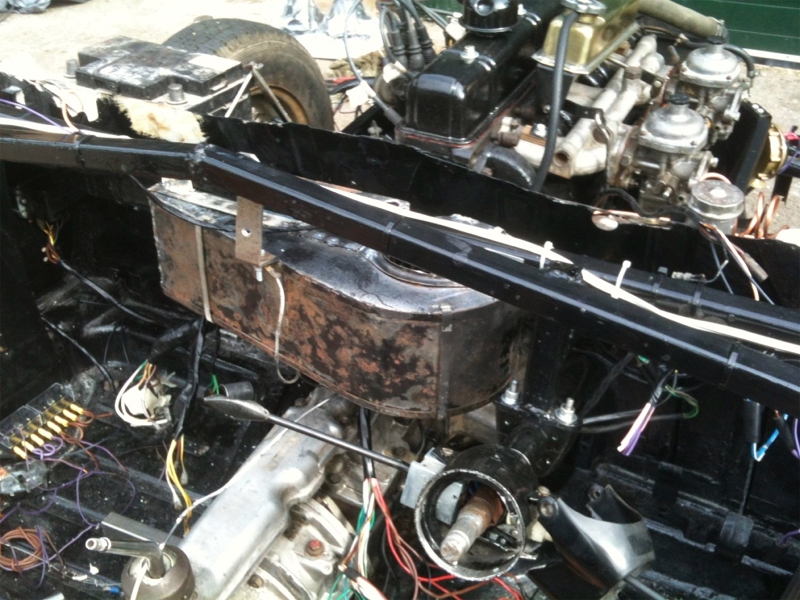
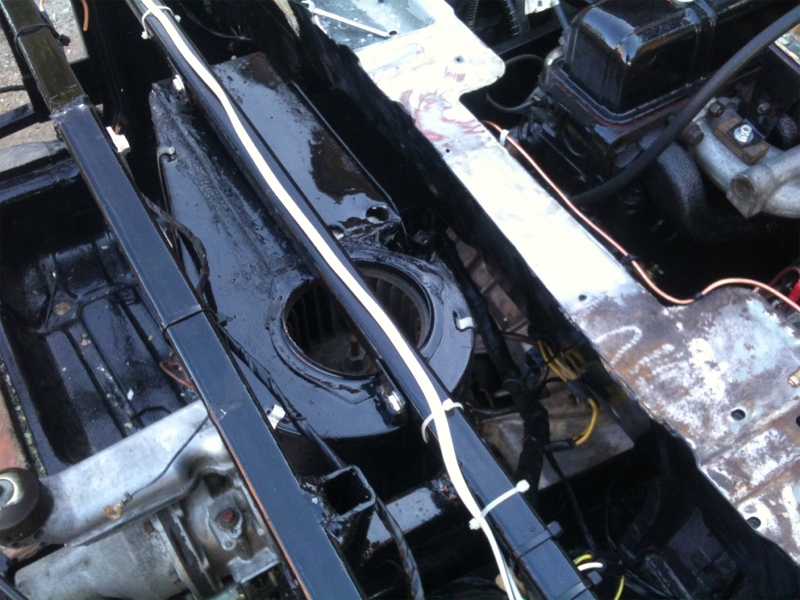
With the wiring in as much as I wanted at this stage - I am building a centre console for the guages so did not want to complete that bit yet - I had a go at modifying the standard Vitesse Smiths heater. The reason for this is that I want to have a bit of heat into the cabin area, as even sumer nights can get cold in an open top sports car. As I also want to take the car touring in Europe at some point, then the addition of a heater might be welcome!
The modification started by chopping up up the cover to make it smaller so it would fit under the dashboard area of the Spyder, rather than outside in the engine bay as it was in the Vitesse. I want to keep the engine bay clean and free from as much as possible.
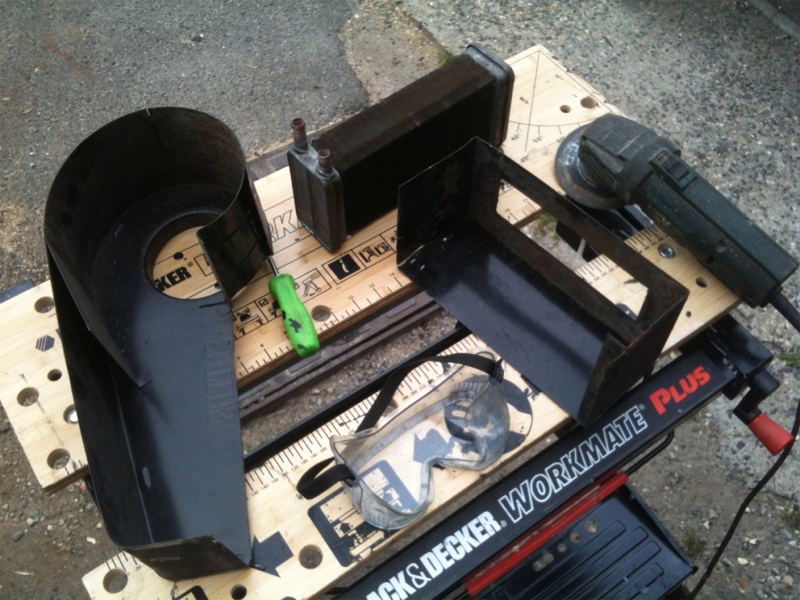
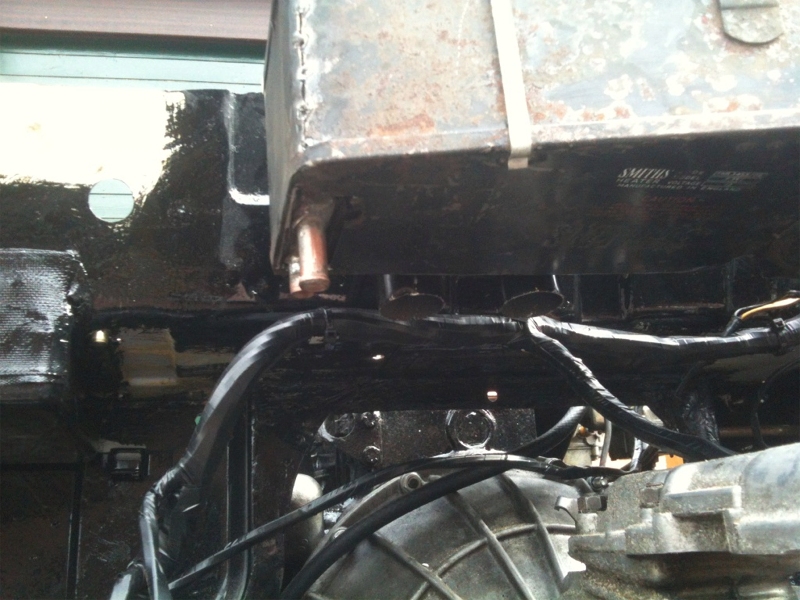
Mounting was a case of welding some mounting tabs to the casing and then putting some Rivnuts into the framework to hold all the bolts. I tried to tuck it back as far as it could go so I have as much free space in front for the guages in the centre console.
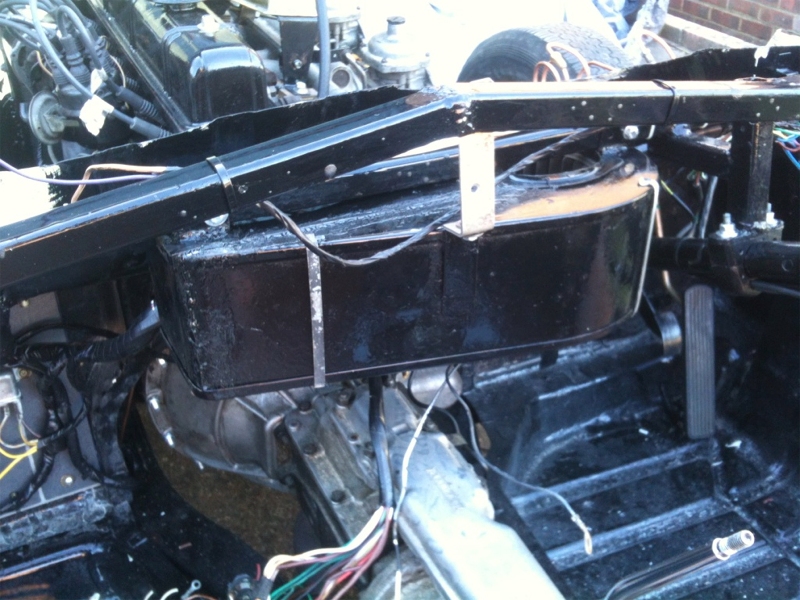
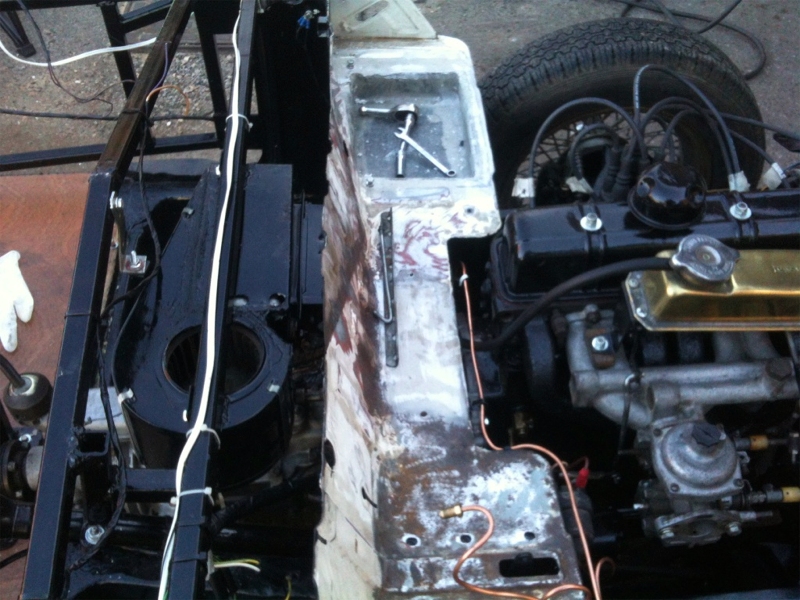
Once I had mounted it all, I took it off and painted it, and then put it all back!
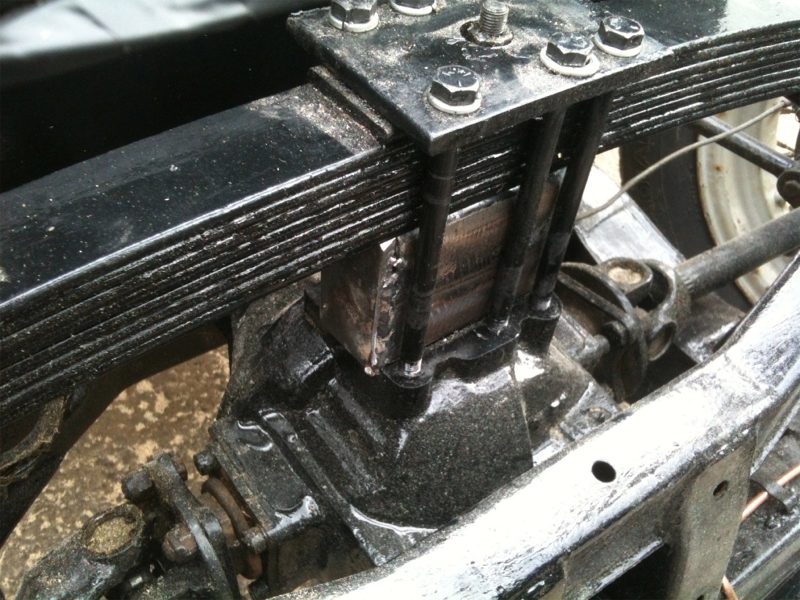
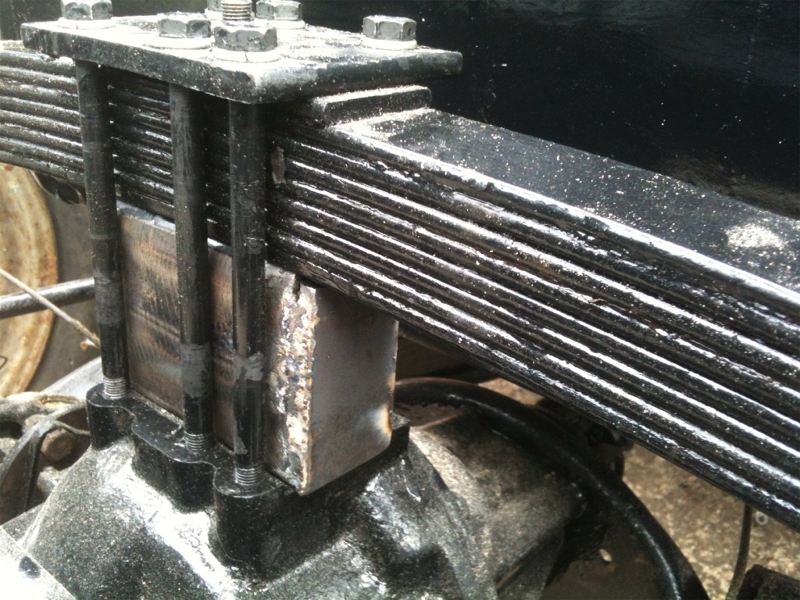
The last couple of jobs this weekend were to strengthen the lowering block by welding two end caps onto it to stop the sides bowing out. This was a problem identified on the Madabout-Kitcars.com forum. When you tightened the bolts down, teh sides bowed out and the bolts came loose under use. Not clever, so I thought I would modify it while the block was easy to get to.
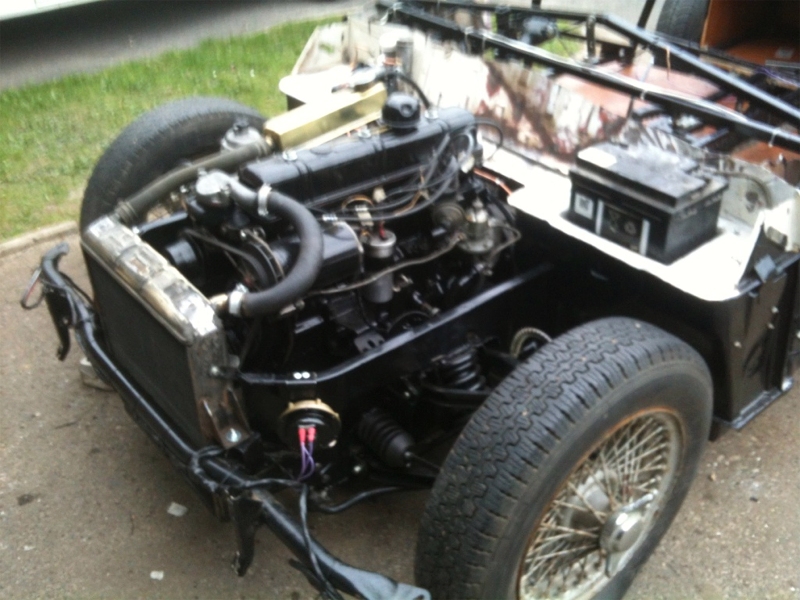
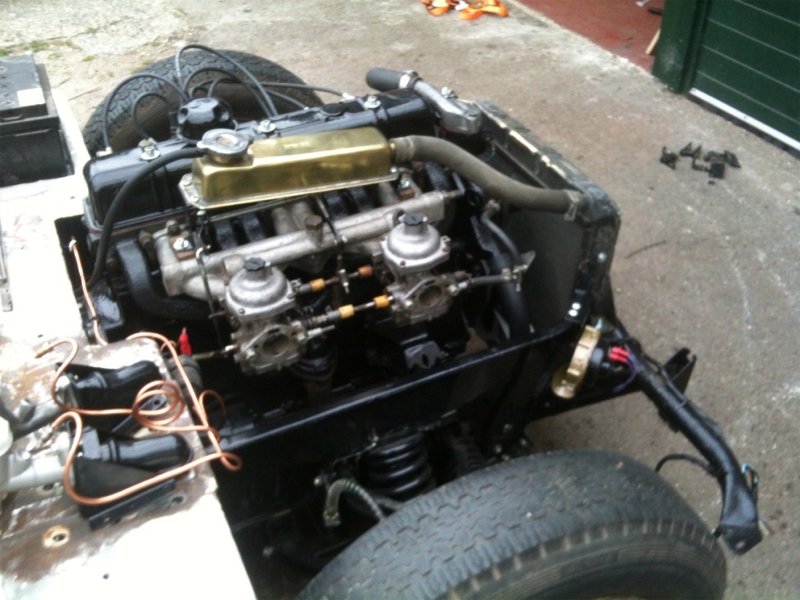
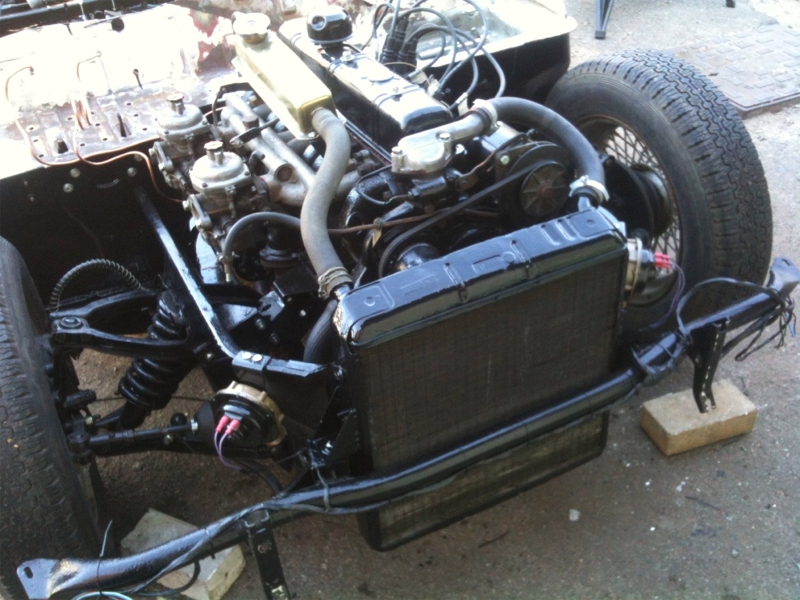
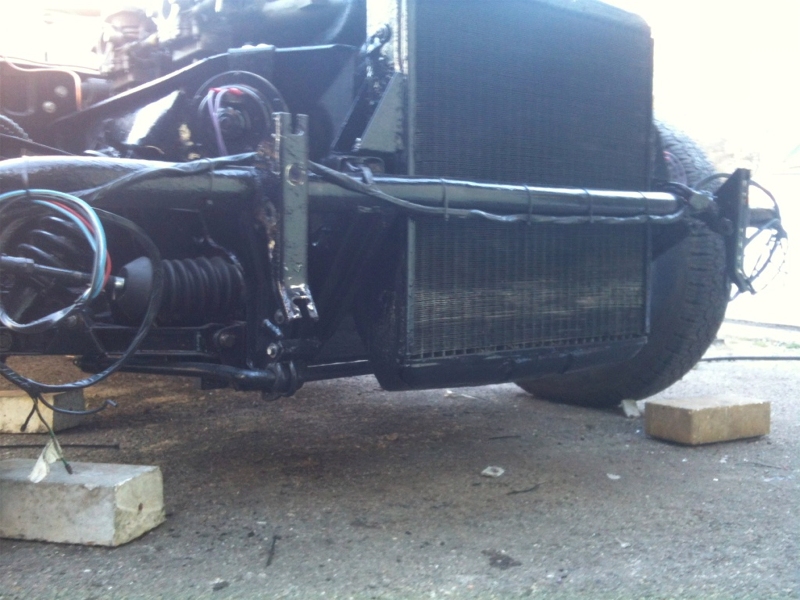
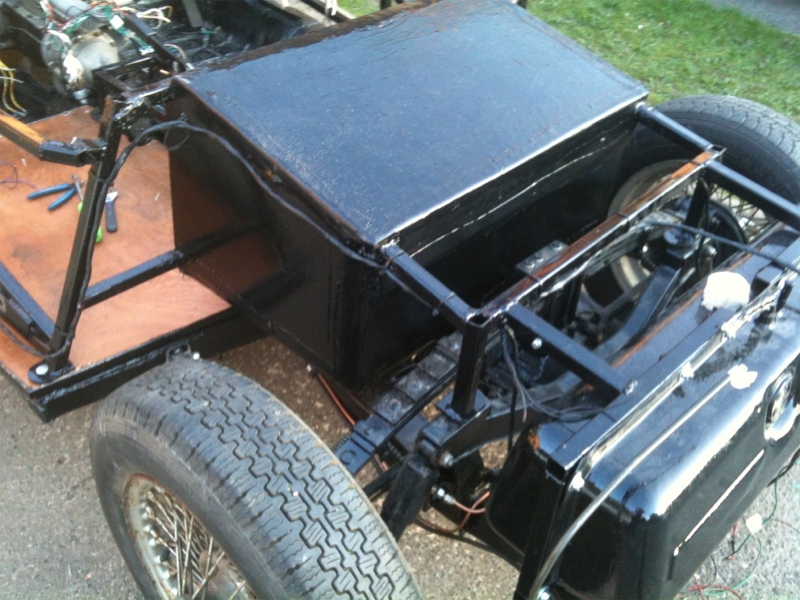
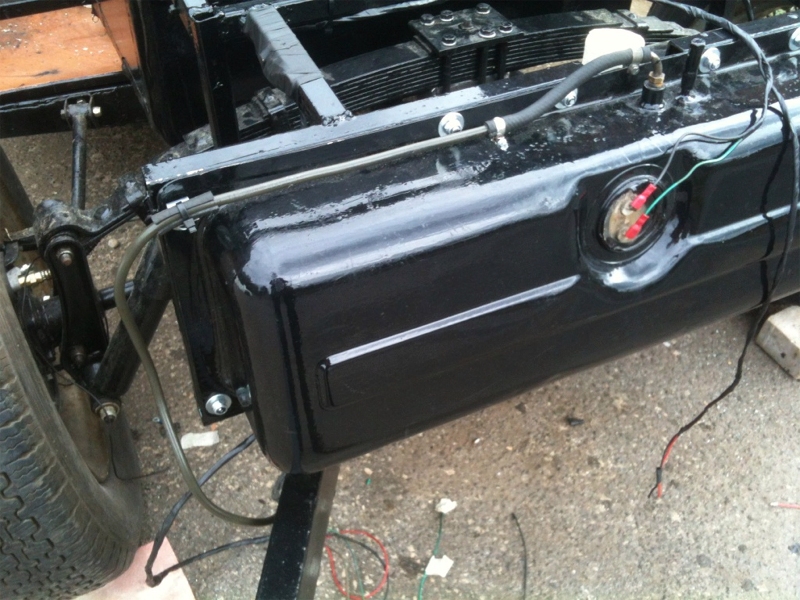
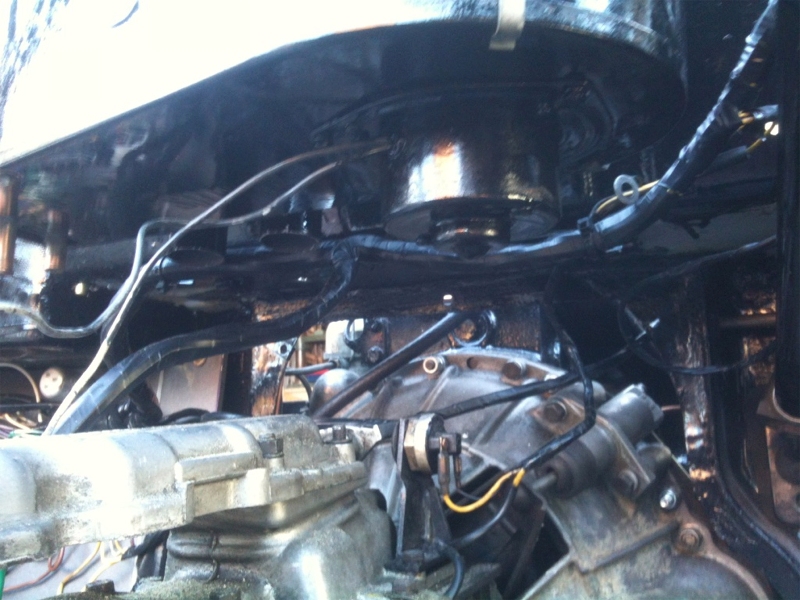
And lastly, a couple of pictures of the engine bay and radiator mounted. It will hopefull clear the bonnet, so I am not doing anything else on it until I have had the inspection and fitted the bonnet up for size!