
13 May 2012 - Priming & painting
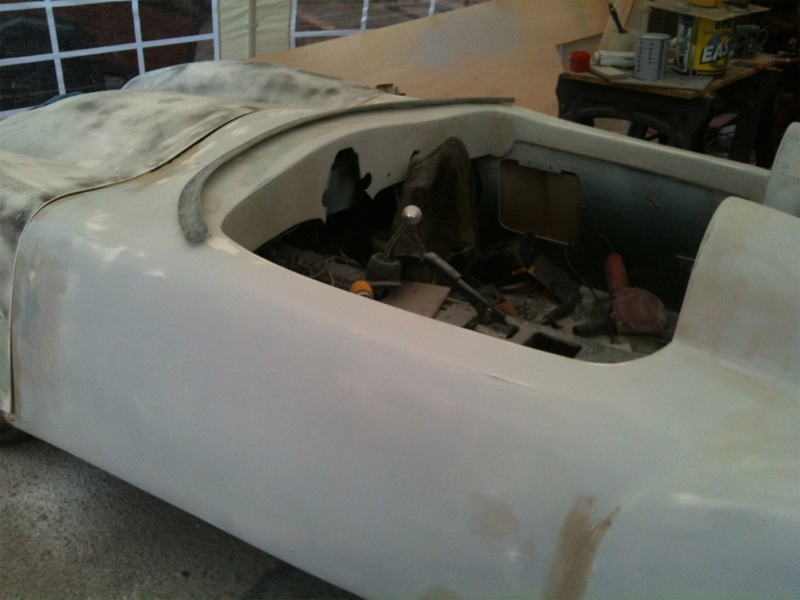
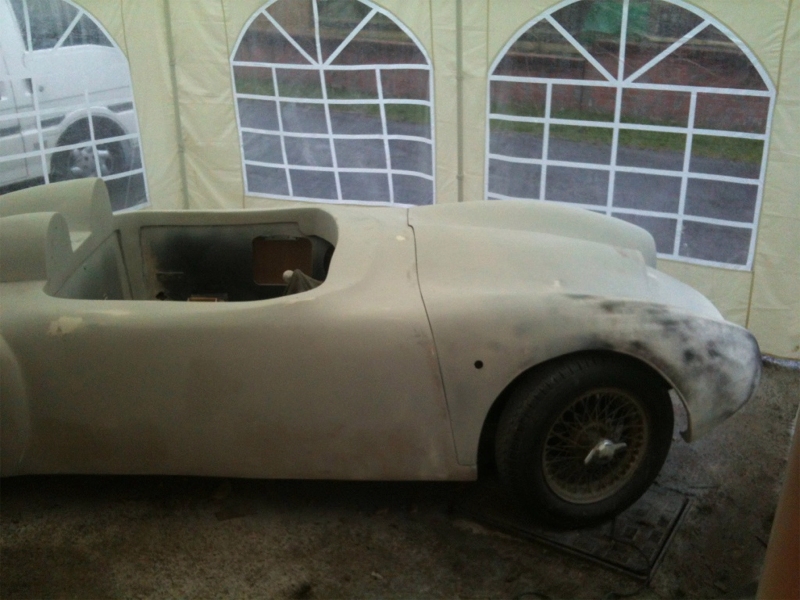
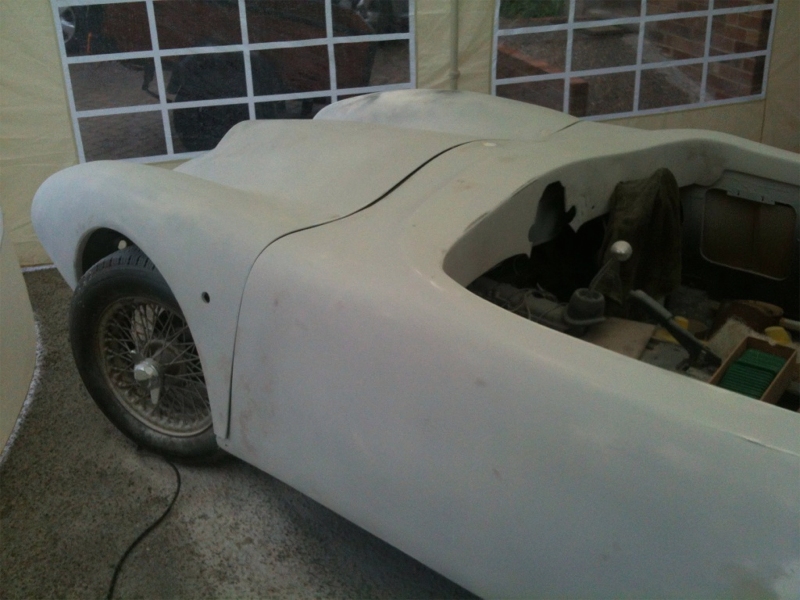
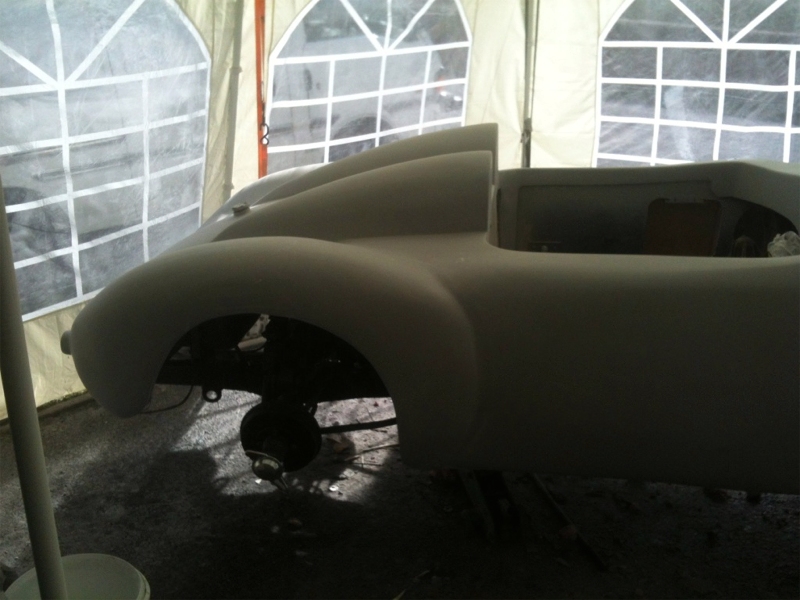
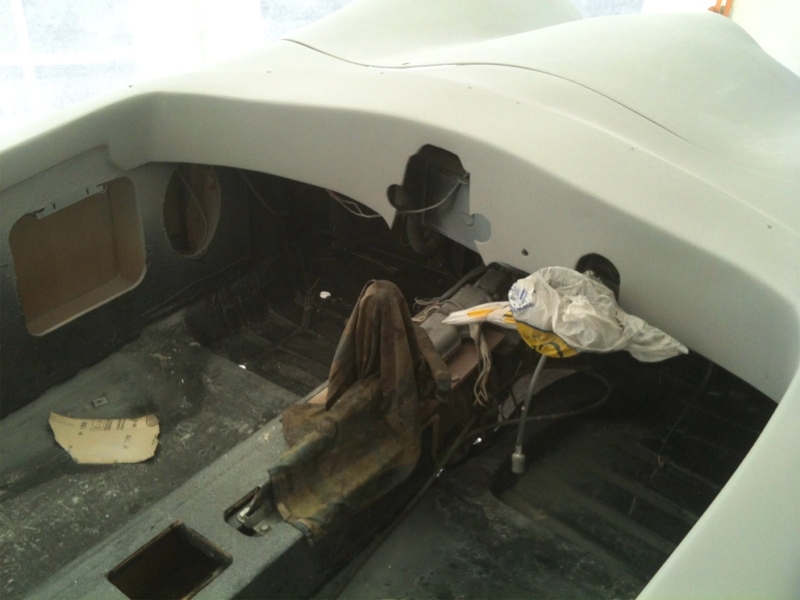
With the car snuggled up in the circus tent, I am able to get on and prep the body for primer and paint. I was going to get a lcoal bodyshop to paint it but I haven't got £1500+ to spend as I am trying to build the car on a budget of about £2000 in total.
So after some deliberation, I decided to by 5L of Cellulose High Build Primer & Standard Thinners, 5L of Cellulose Paint (close to BMW Mini Pepper White - the actual colour is A1051 Poly Pex Indish Ivory) & top gloss thinners and various mixing cups, fine filler and bits and pieces to spray the car myself. I bought everything from Rainbow Paint in Ferndown, Dorset, and they were very helpful, the whole costing just under £300.
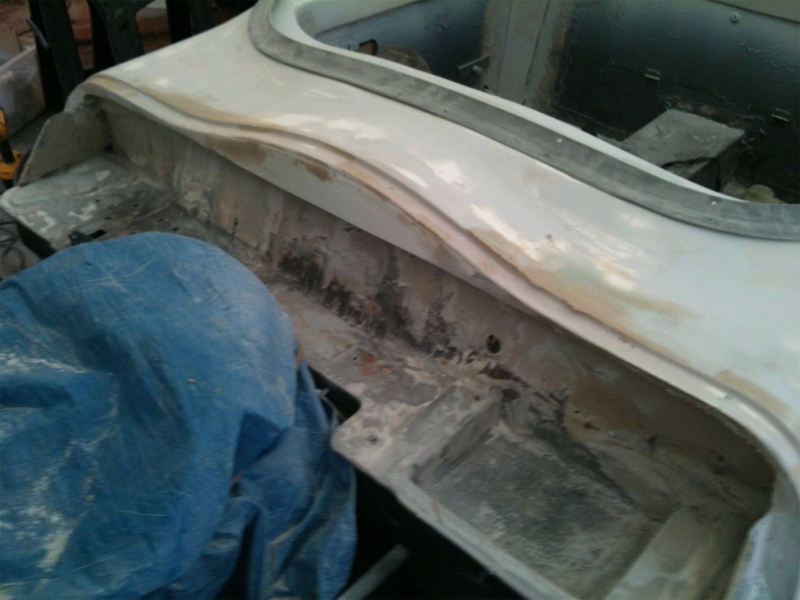
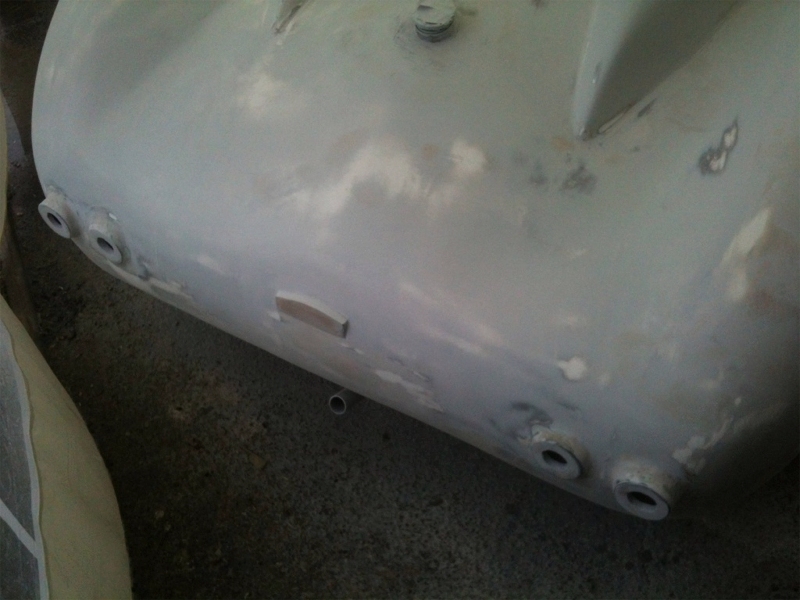
Body preparation is about filling, flatting, rubbing down and then repeating over and over again until it it right. Now I am not a perfectionist, so I run out of patience quickly, but the more prep you do the better the final finish, so I persevered as much as I could!
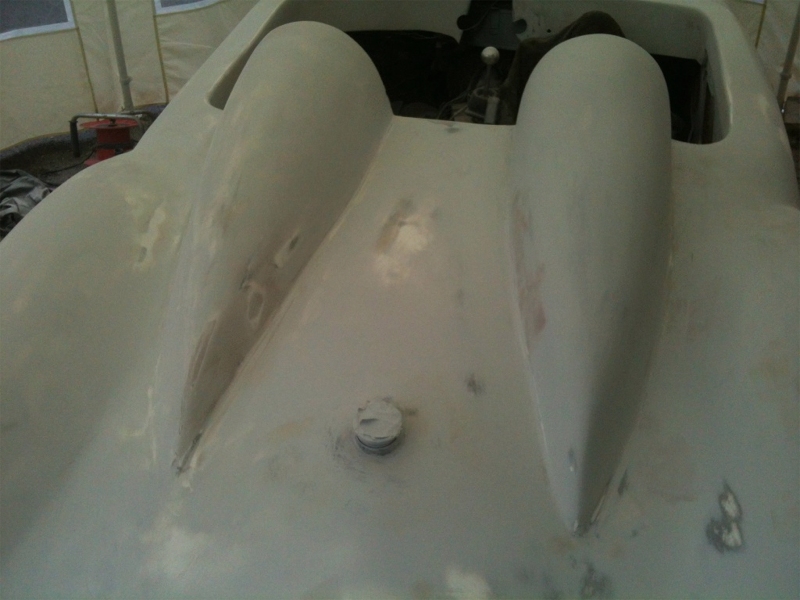
A couple of things that helped a lot was a great little flexible sander from ebay, and some 60grit sanding paper on a roll that can be cut to length and used with the sander. I also found a variety of rubber hoses, wooden blocks and tubes helps get into to curves and corners of the Spyder body.


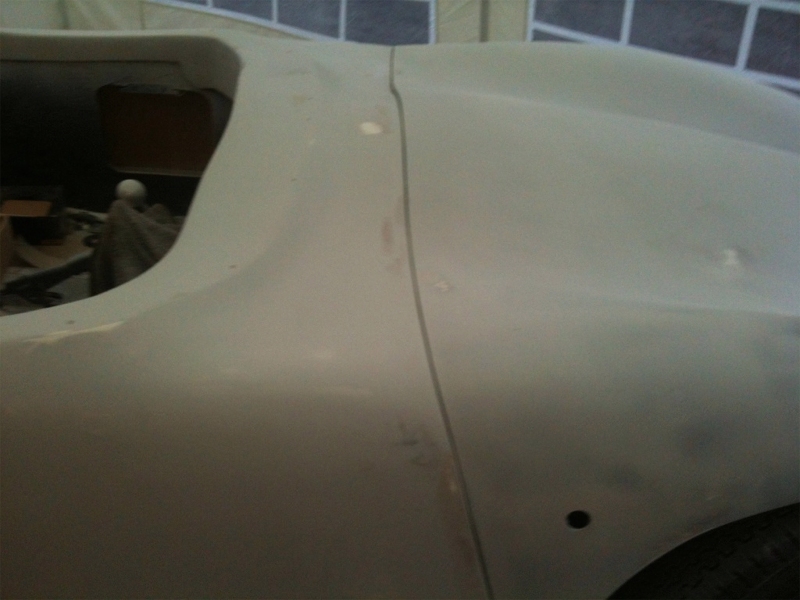
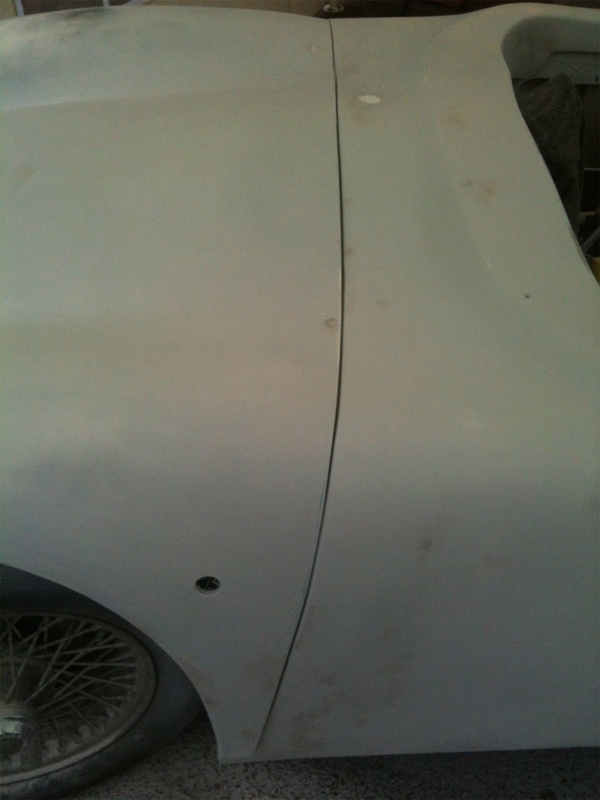
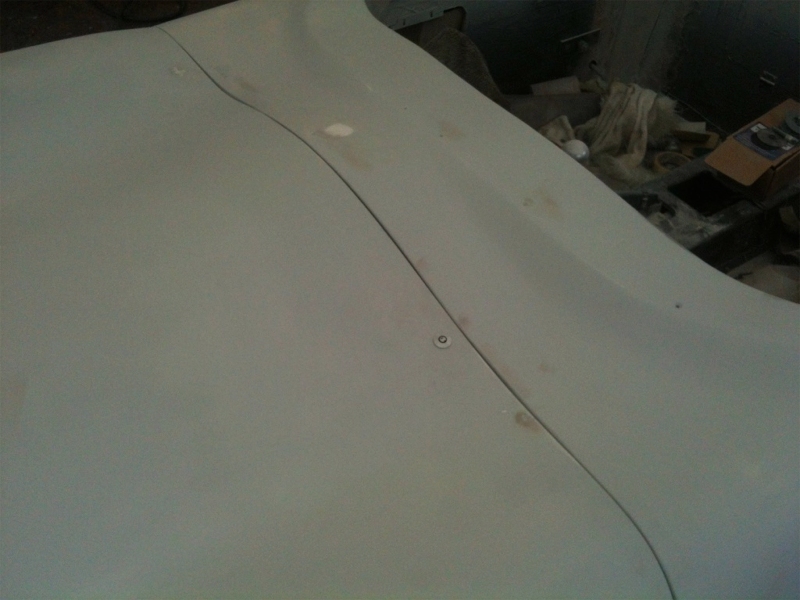
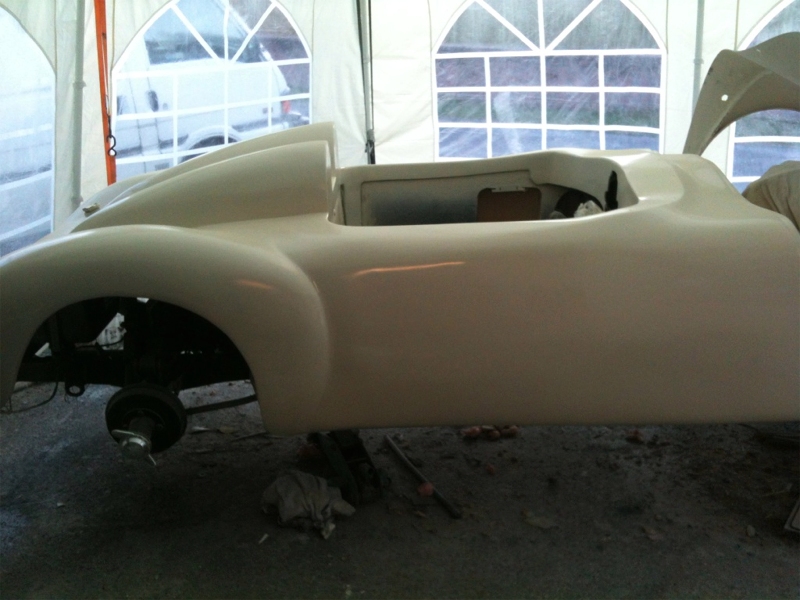
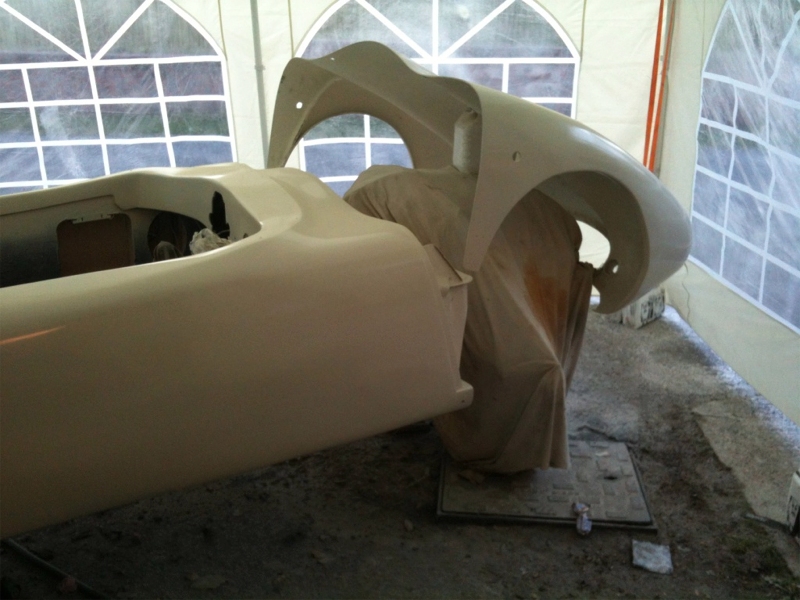
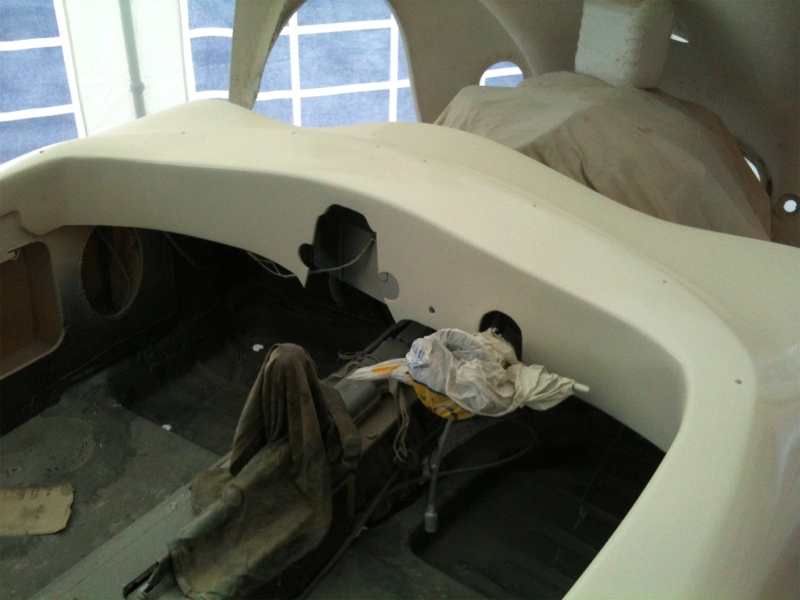
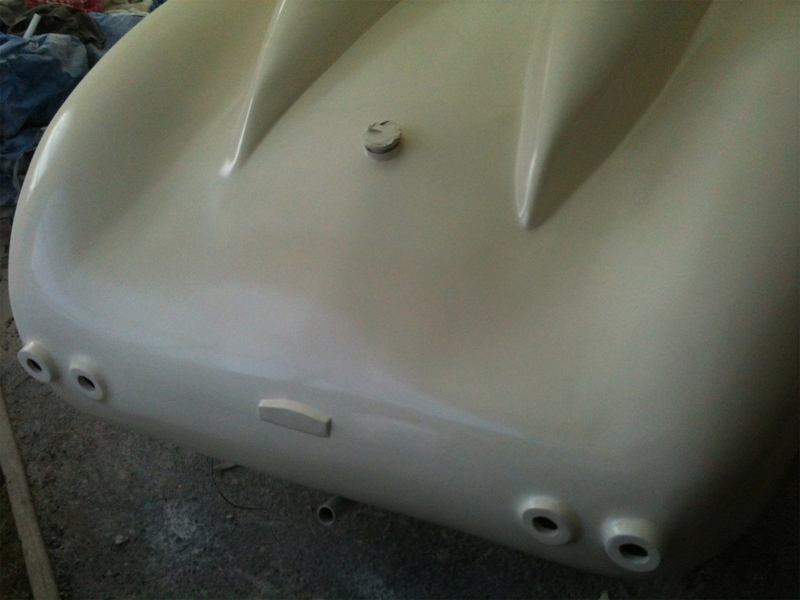
The following pictures speak for themselves really.....
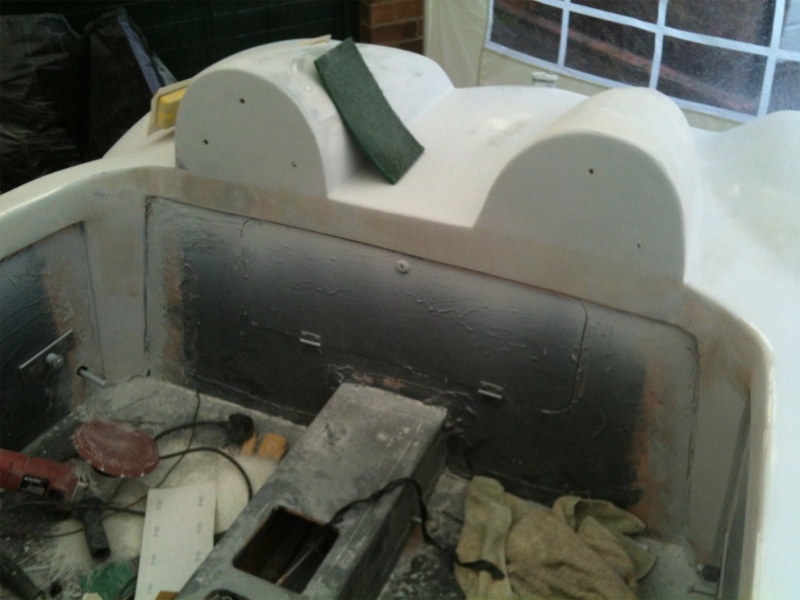
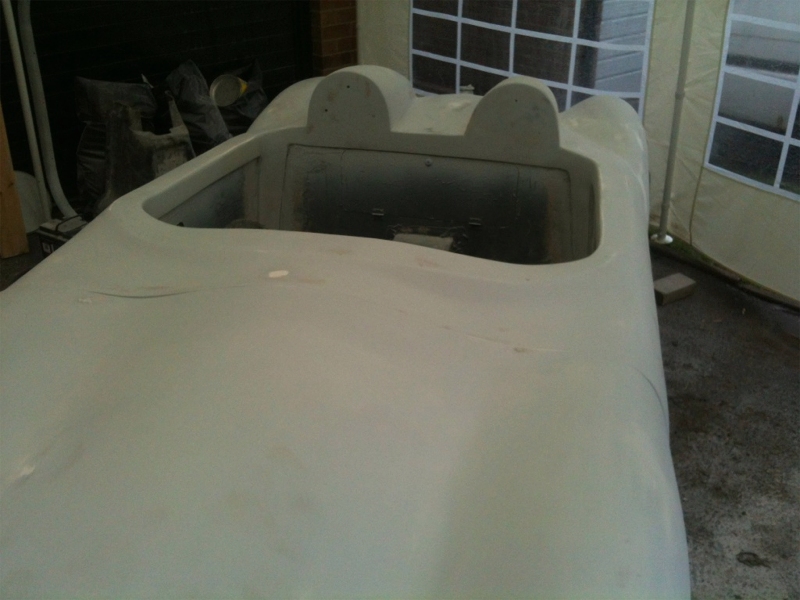
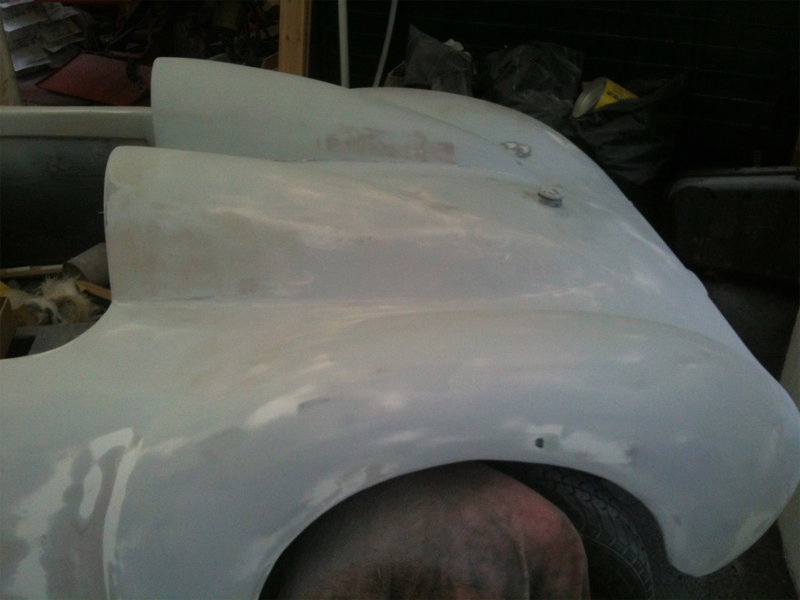
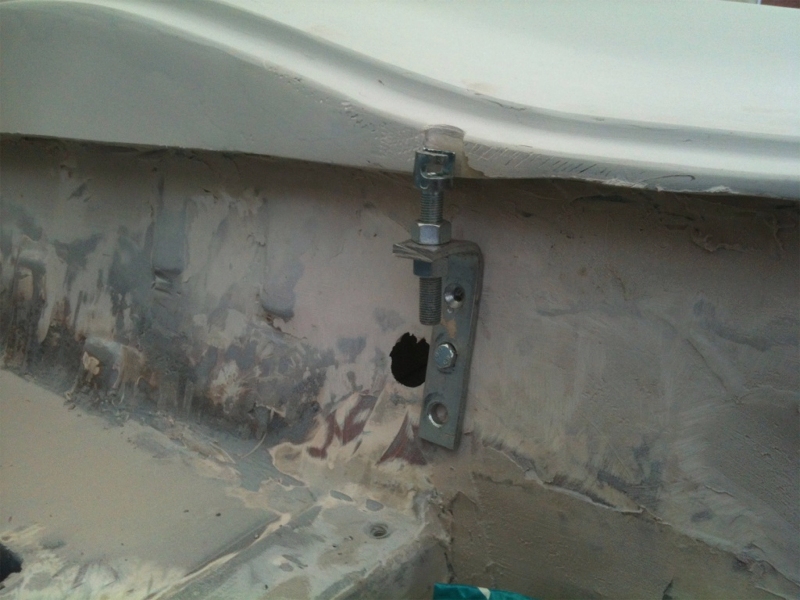
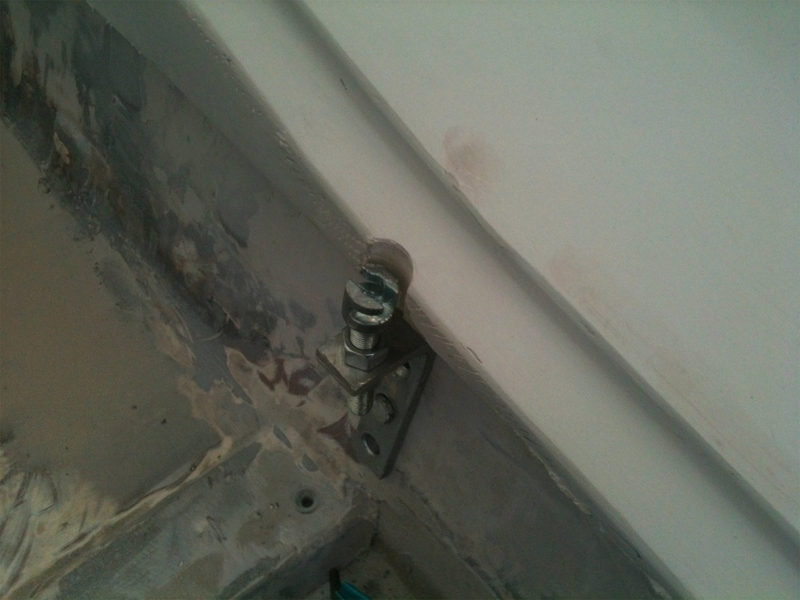
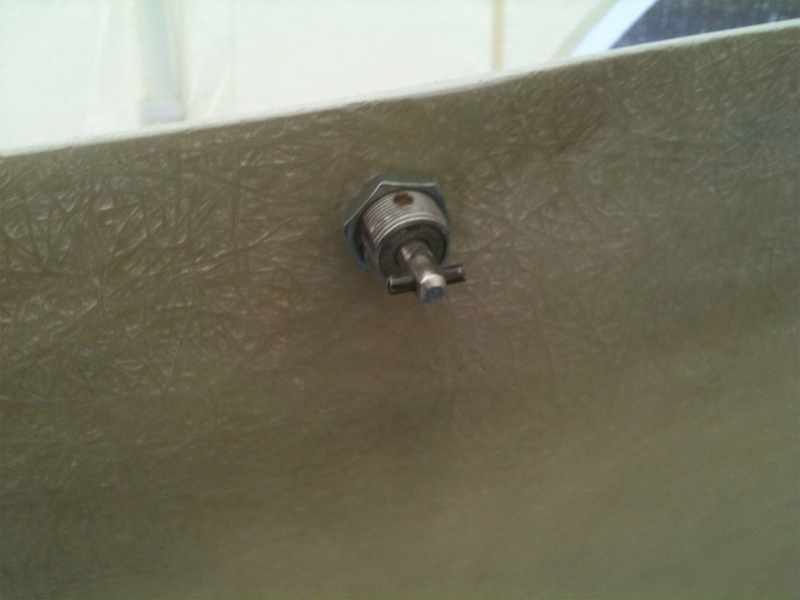
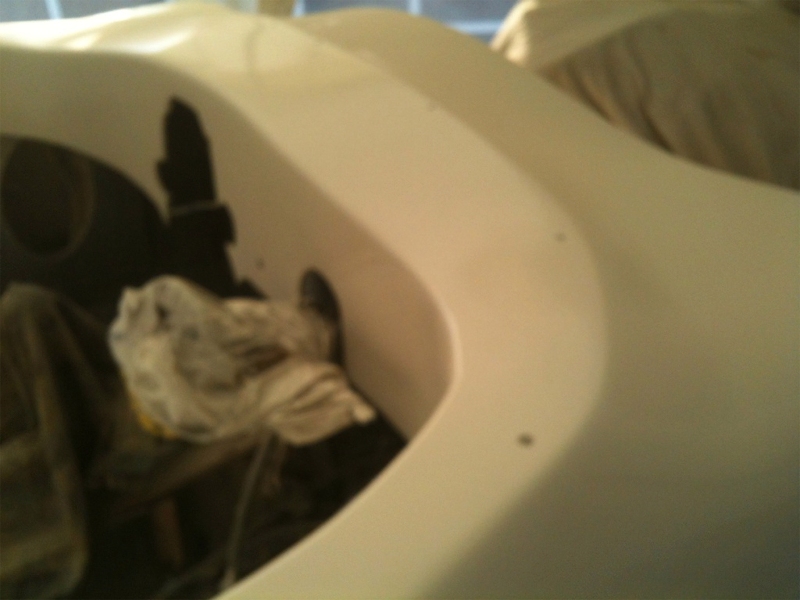
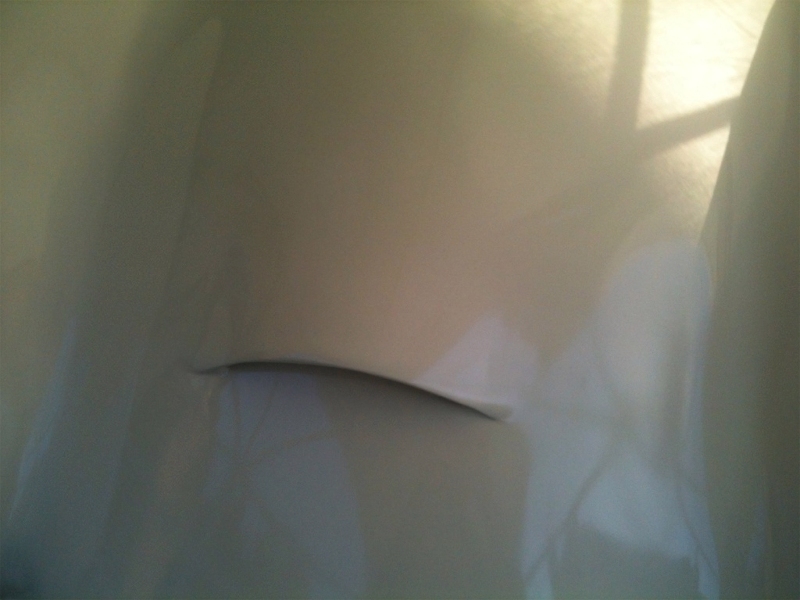
The bonnet provided a few more challenges, and one of which was that the left hand side did not correctly follow the shape of the body and I had seen a number of other owners on the forum add bonnet pins and DZUS fasteners at either side at the top to pull the bonnet down to the right shape. I really wanted a clean look and found a nice pair of bonnet locks on ebay to do the job. I fitted up the left hand side one and decided that I did not need the other side, and so it acts as a bit more security and does the job of pulling down the bonnet nicely and tidily.
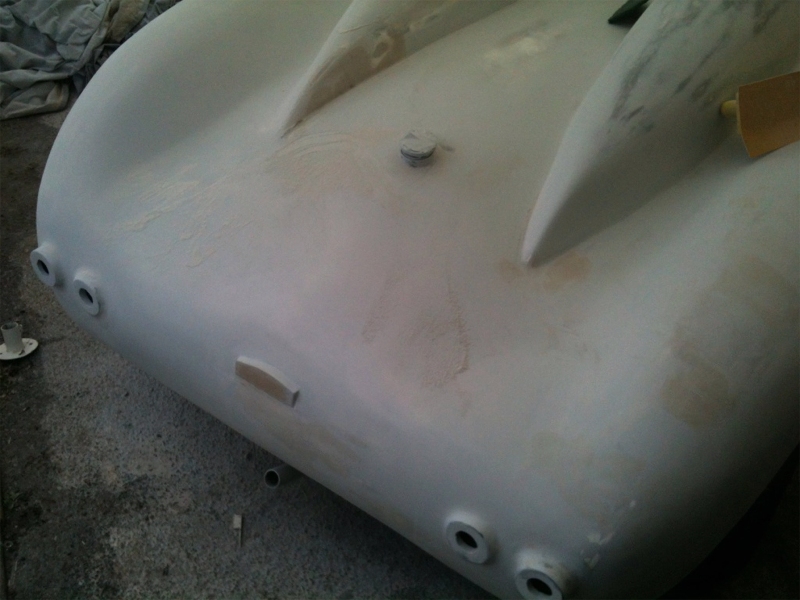
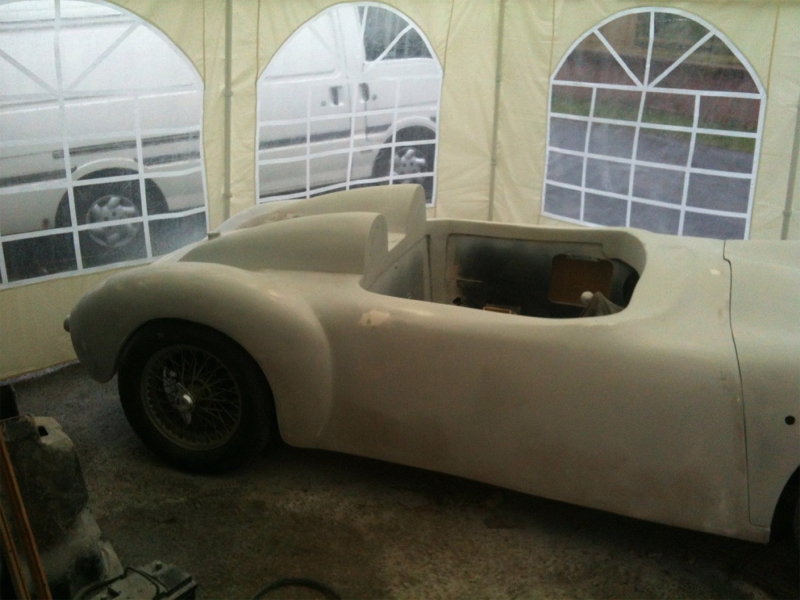
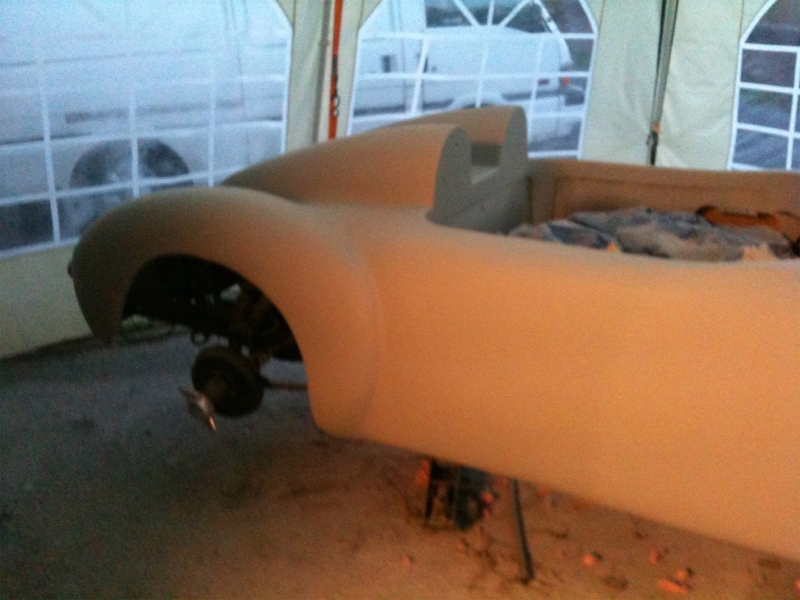
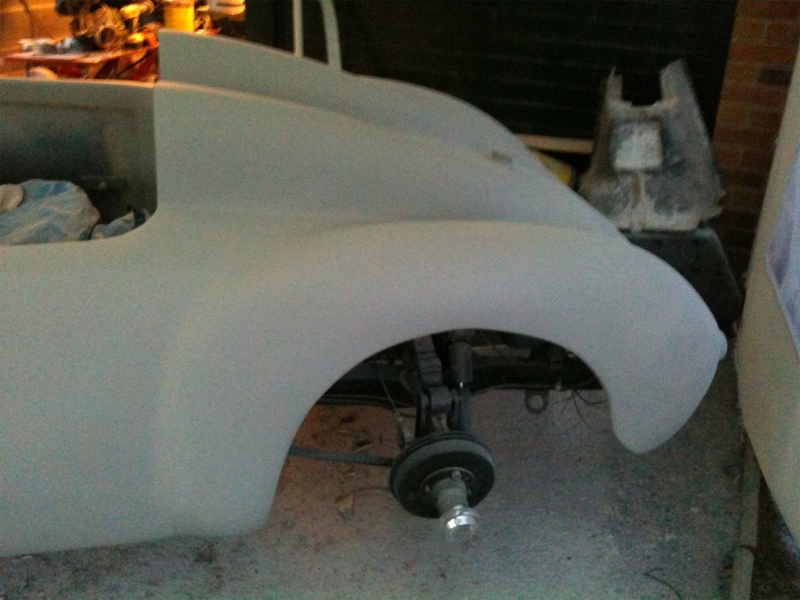
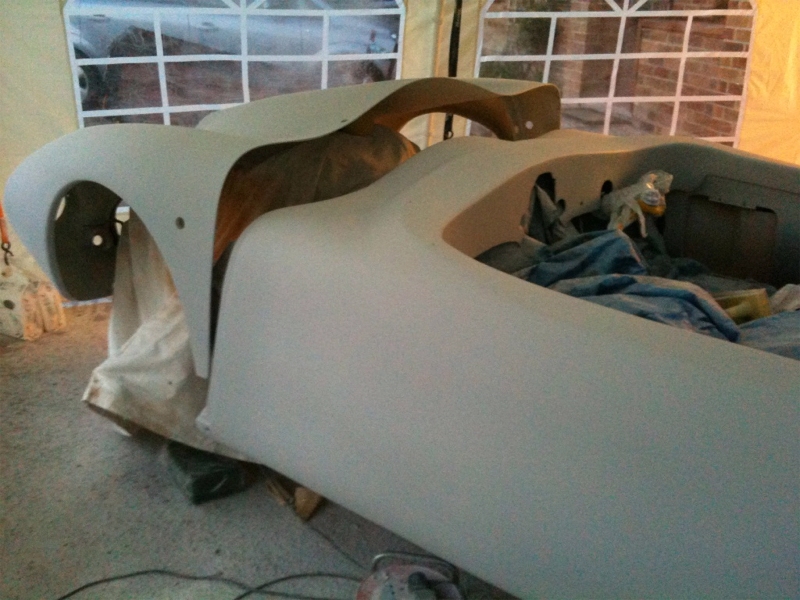
With the prep nearly complete, I decided to blast on a couple of coats of High Build Primer, so donning a good quality respirator mask, I turned the circus tent into a spray booth! The result was very pleasing!
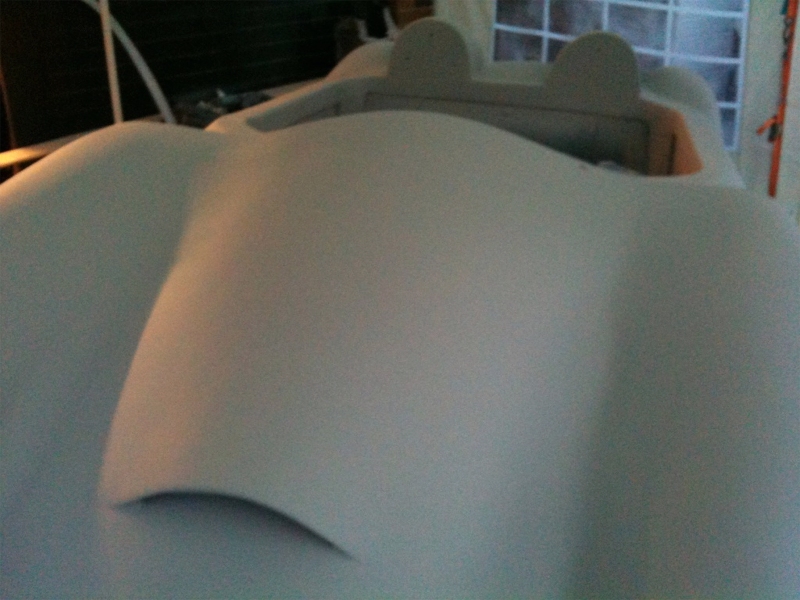
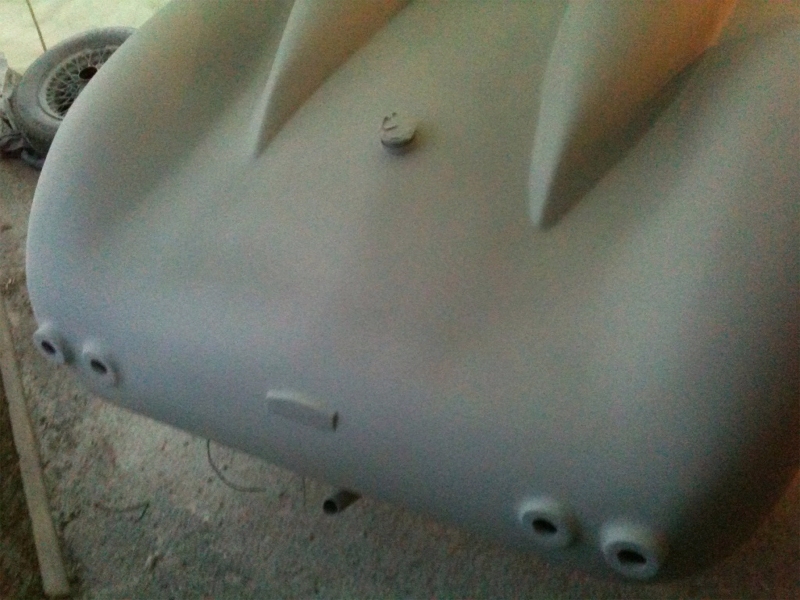
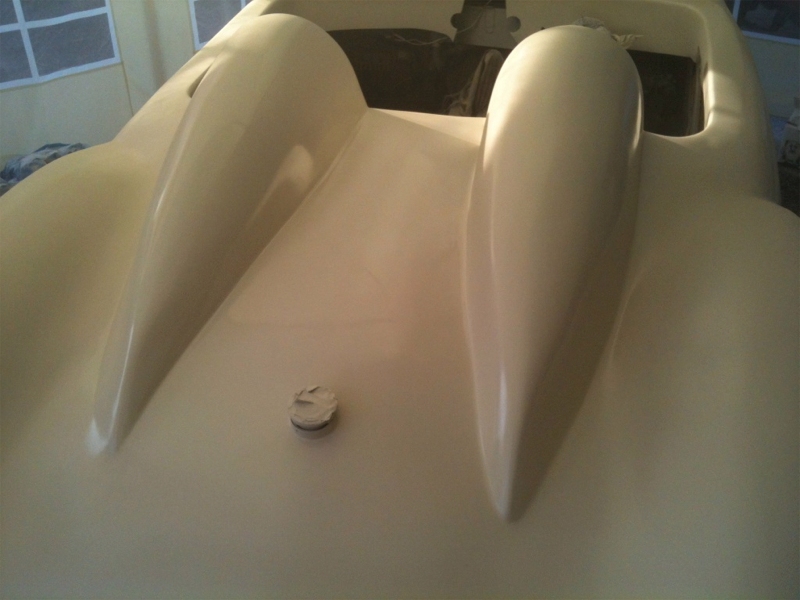
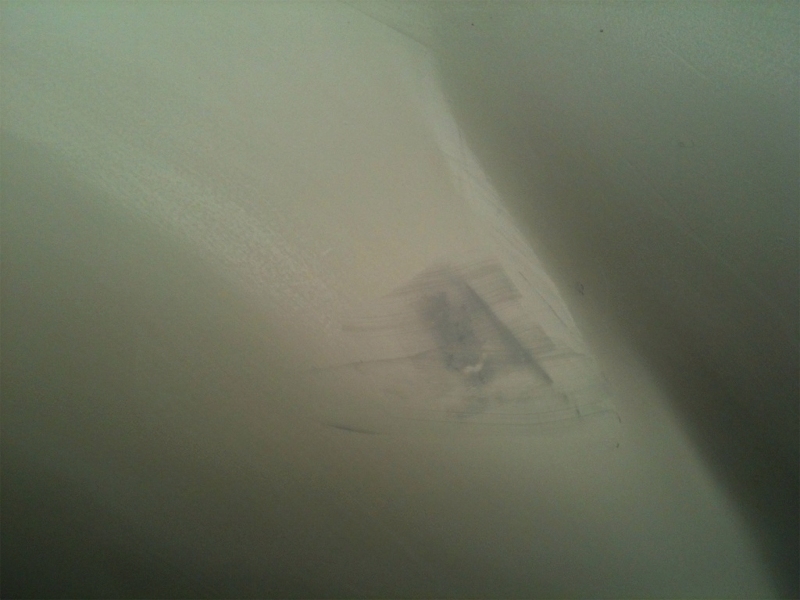
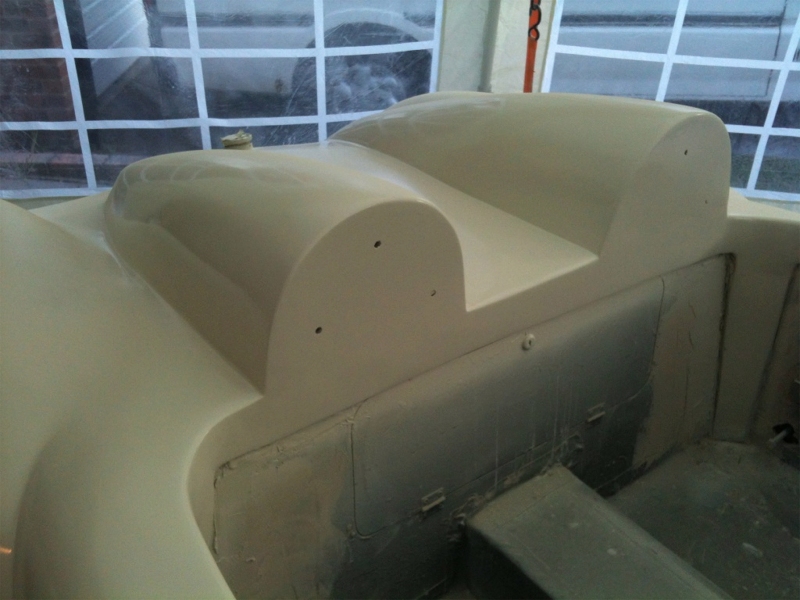
Okay, I couldn't wait, so I rubbed down the primer with 320 and then 600 grit wet and dry paper, and decided I would put a topcoat on - just to check the colour ;-)

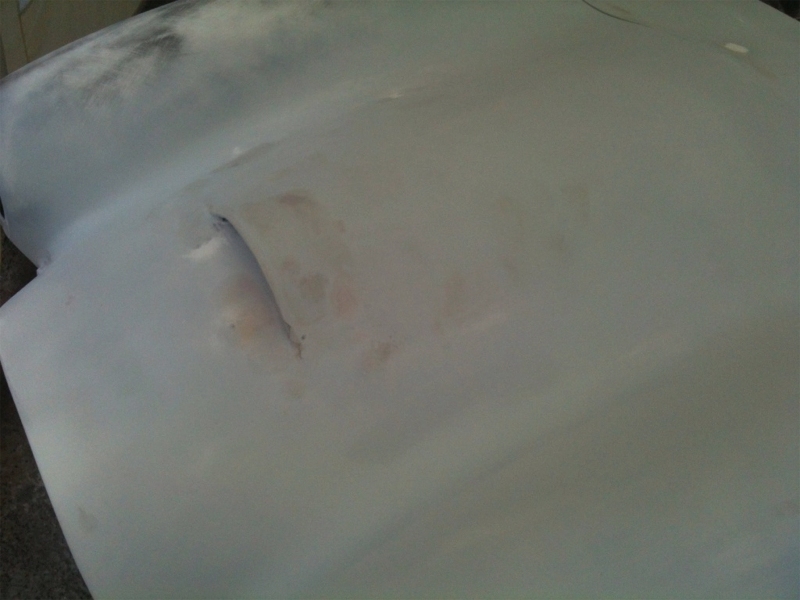
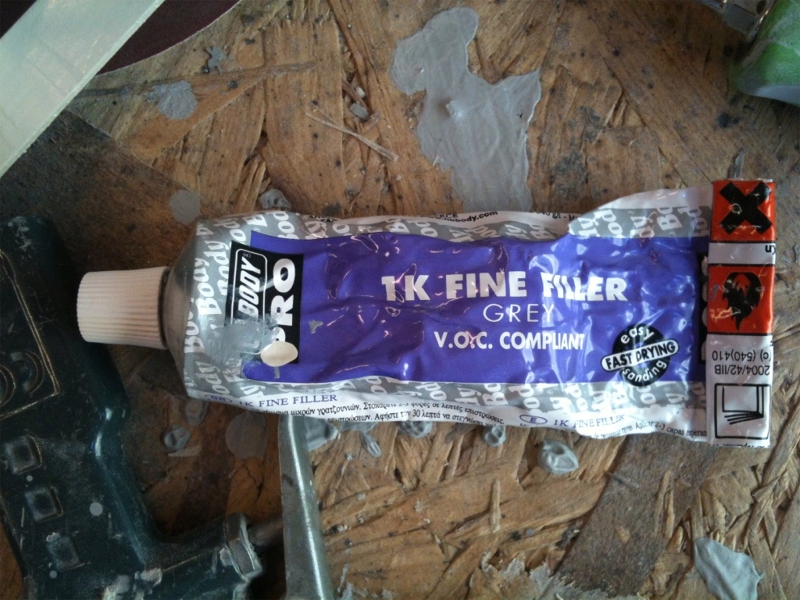
One thing I would highly recommend is getting hold of a fine filler, also called, stopper or knifing putty. This can be used over paint (you should put normal boddy filler on paint, it should be rubbed right down first). The advantage is that once you put the top coat on you WILL find small blemishes in the paint and so this fine filler can be used directly over the painted surfice and acts as a primer too, so you can paint over it again. This was a godsend for me, as I found numerous bit I missed.
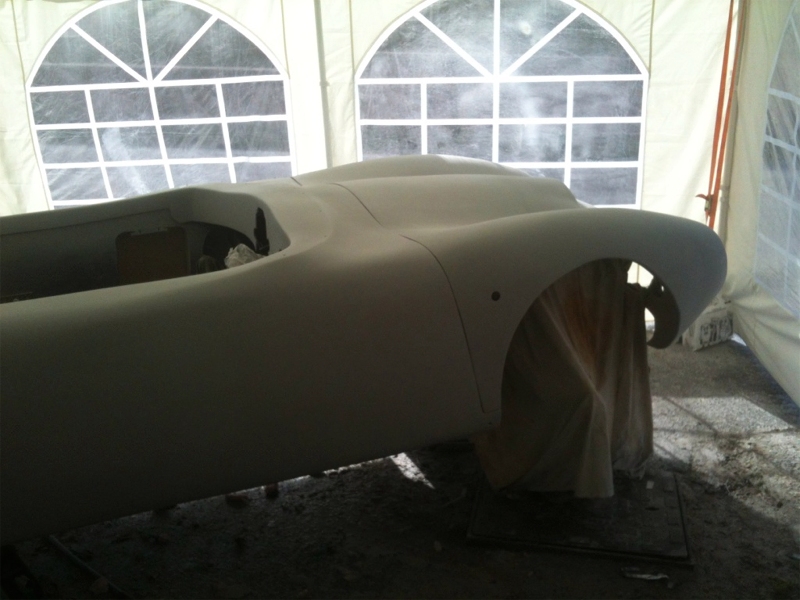
With most of the blemishes filled and rubbed down, I put about 4 or 5 coats of colour on over a coupel of hour period and then let it all dry off for a few days!
At this point, I am getting excited that I might actually be able to use it this summer!

